Everyone would love their car to always look as immaculate as the day it drove out of the showroom. However, cars are meant to be driven, and more often than not, that will result in layers of dust, grime, and bugs all over. The most obvious and popular solution to that is washing your car, but after a while, no matter how many times you wash it, that showroom fresh finish never seems to come back.
The only way to make your car look brand-spanking-new again is to polish it. Polishing your vehicle helps eliminate minor surface scratches, swirl marks, oxidation, paint defects, and other imperfections. And it’s a myth that you need to spend hundreds of dollars in a detailing shop to get the finish you want. You can easily polish your car yourself. Of course, I won’t say that it’s the easiest thing ever. You will obviously need some practice—and a few specialized tools. But once you get the hang of it, you’ll be able to save tons of money on detailing fees for the years to come. Not to mention that you could also make some money on the side too, and maybe start your own detailing biz, who knows?
But let’s start from the beginning. To ease out the learning curve, we have gathered all you need to know to start polishing your own car at home, even on a tight budget. We tried to include everything you might need, from the tools and material required to how to find and select the right equipment, including a very simple-to-follow step-by-step guide explaining how to polish a car the right way.
Let’s go!
Table of Contents
Material Needed:
You can easily pick up most of these items at your nearest Home Depot or any other hardware and auto part store. They will probably cost more than getting your car professionally detailed but try to think of it as an investment.
Step-by-Step Instructions
Once you have purchased and set up all the required materials, we can finally get started with the polishing process. But before that, the first thing you want to avoid is to park your car under direct sunlight; park it in your garage or find some shade before starting.
A hot body will simply cause water to evaporate faster leaving soap marks and polishing compounds and wax to dry way too quickly.
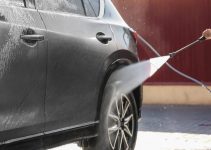
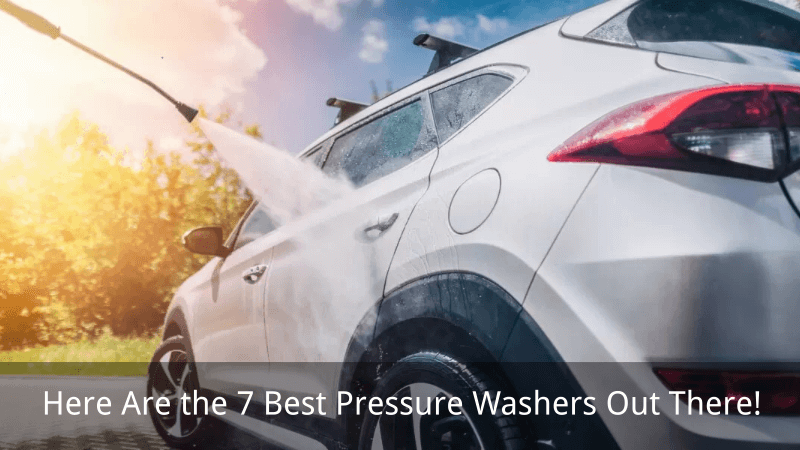
Step 1. Wash the car
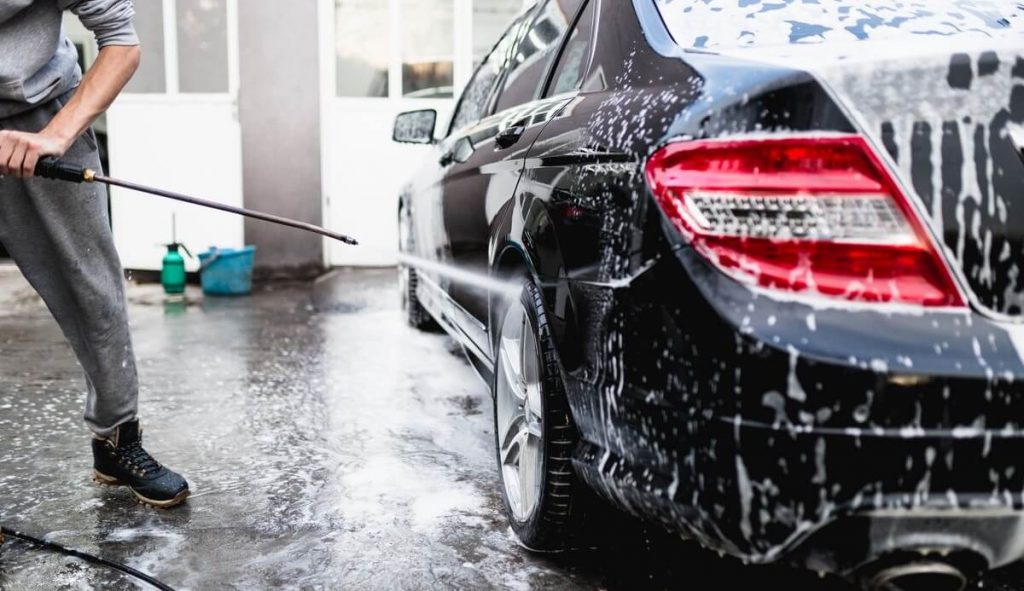
The first step of polishing your car is to wash it thoroughly. We do this to ensure every part of the surface is free of dust, grime, splattered insects, or any other type of contamination. It is advisable to use a high-pressure washer for this step, but a good ol’ water bucket will do just fine. However, if you use a water bucket, make sure to have 2—one to wet your mitt and another to rinse it. You don’t want the dust and sand you pick up from the car to move around the paint while washing it, creating even more swirls. Rinse your mitt as often as possible.
Ensure you are generous with the soap and don’t forget to always wash from top to bottom (the bottom of your car is always dirtier than the top and you really don’t want to carry the sand from the rocker panels to your top). Focus more on corners or edges where dirt can get accumulated over time.
Worth mentioning, the dirtiest part of your car is undeniably the wheels. When brake pads wear out, they create brake dust, which will inevitably stick to the wheels. Brake dust, being partially metallic, will cause even more scratches and swirls than regular sand. Never, never use the same mitt to wash the body and the wheels. Always two different mitts. In fact, for the wheels, you could use something much rougher like a brush or a big sponge. But whatever you do, always use something different to wash the wheels than whatever you are using for the body.
If you really wanted to go overboard, you could even use different mitts to wash the top-half and bottom-half of the car, but that might be overdoing it. Still, if you own a classic car or a collector edition, nothing’s ever too much, right?
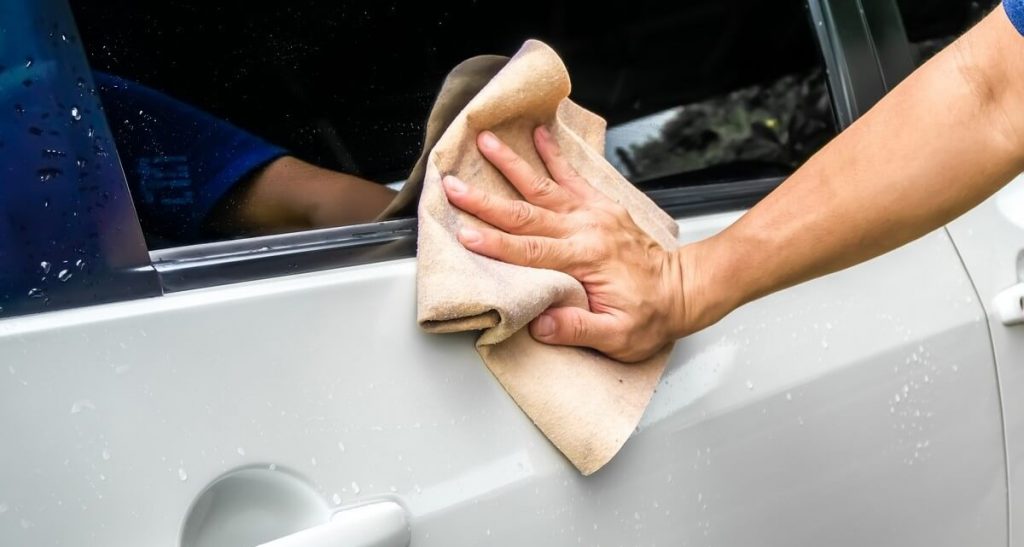
Once thoroughly washed, quickly dry the car using a microfiber cloth or chamois.
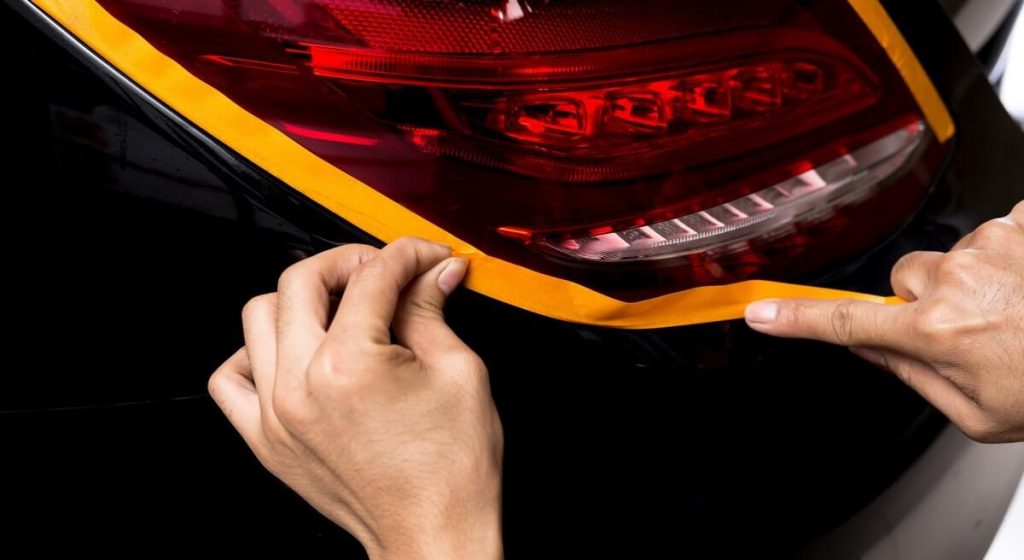
Step 2. Cover plastic parts
This is a crucial step of the polishing process. Simply put, you need to tape anything and everything on your car that isn’t meant to be polished, i.e., metal. Things like plastic trim pieces, rubber seals around windows & windshield, and headlight & taillight surrounds need to be taped up before you even touch the polishing tool.
It may seem like a lot of extra work now, but polishing compounds will mark plastic parts and leave whitish stains—and these things are a bitch to remove. Correctly masking your car will save you hours and hours of cleaning when you are done polishing. So, check, double-check, and then triple-check to make sure you haven’t missed any component. Even tiny parts like headlight washer nozzles can be an absolute menace to clean.
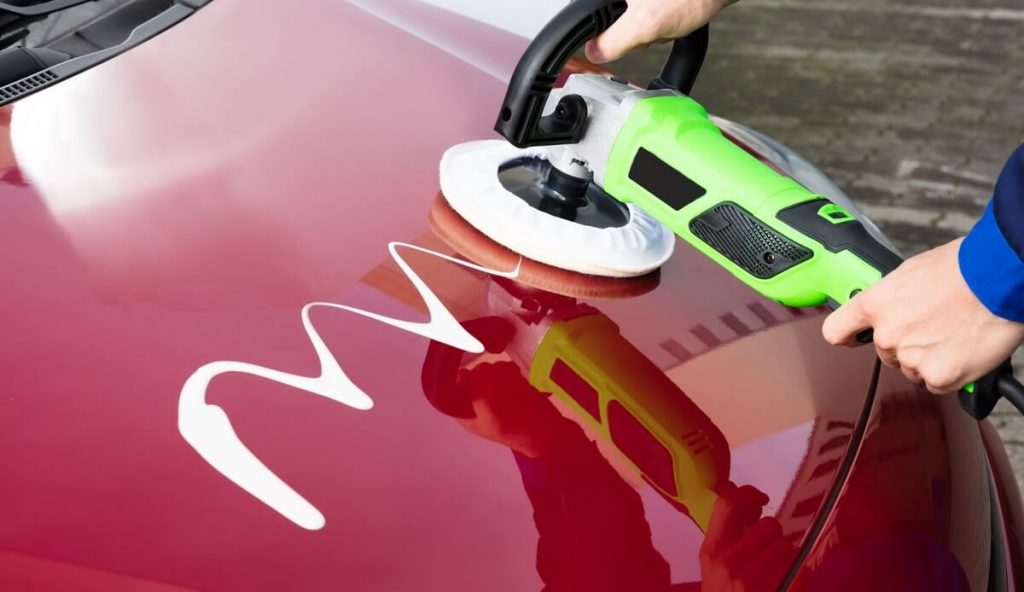
Step 3. Polishing
Next, squeeze four spots of the polishing compound onto the polishing pad and gently place the polisher on your car’s body panel. Start the polisher tool at a medium speed and slowly move it around on the surface while applying mild pressure. The key here is to use the right amount of polishing compound and apply the right amount of pressure (this is really hard to explain using words so you’ll have to give it a go and see for yourself here). If compound is splashing everywhere, that’s too much compound; if the pad is slowing down, that’s too much pressure. But just try it, you’ll get the hang of it in no time.
Work on one body panel at a time to ensure the clear coat heats up evenly and the scratches start to vanish. Watch out for edges and creases. Those will create hotspots since they touch the pad unevenly. Nonetheless, since you are using a softer polishing compound and not a buffing compound, the risk of burning the paint is a lot lower.
As a general rule, it’s always better to start slow, check the result, and adjust if needed.
Repeat this process on each body panel.
Step 4. Wash and dry the car
Once you are finished polishing the whole car, give it another thorough wash before starting the waxing process. The goal here is to eliminate any excess polishing compound left on the bodywork so that it doesn’t create more scratches while waxing.
Once washed, inspect the whole paint and make sure there are no more scratches and swirls. It’s not too late to take out the polisher and do some touch-ups here and there. However, if you do, don’t forget to re-wash the car once again.
Once satisfied with the result, completely dry the car using clean microfiber cloths before proceeding to the next step.

Step 5. Wax the car
Now that your car’s paint is back to its original shine, you’ll want to protect it so it lasts longer than last time. And that is where wax comes in.
Apply the wax compound using the appropriate waxing pad and follow the same rules as before—apply nominal pressure, keep moving constantly, and tackle one panel at a time. The wax you apply will act as a protective layer that will do its best to protect your car’s new shiny finish.
Specific details relating to the polisher tool speed and amount of wax to be used can vary based on the waxing compound you use. Always follow the manufacturer’s instructions to achieve the best possible result.
Type of polishing compounds
A significant part of polishing your car is selecting the right polishing compound for the job. And for that, you’ll need to first evaluate your bodywork’s overall condition. There are several types of polishing compounds available, but for the purposes of this article, we narrowed them down into three categories:
Heavy-duty polishing compounds
Heavy-duty polishing compounds will aggressively polish the surface using coarser abrasives and remove scratches deep in the clear coat. You can also remove significant paint defects, oxidation, and other paint imperfections very easily. A good example of heavy-duty polishing compounds are Malco Tru Grit and Meguiar’s Ultimate Compound.
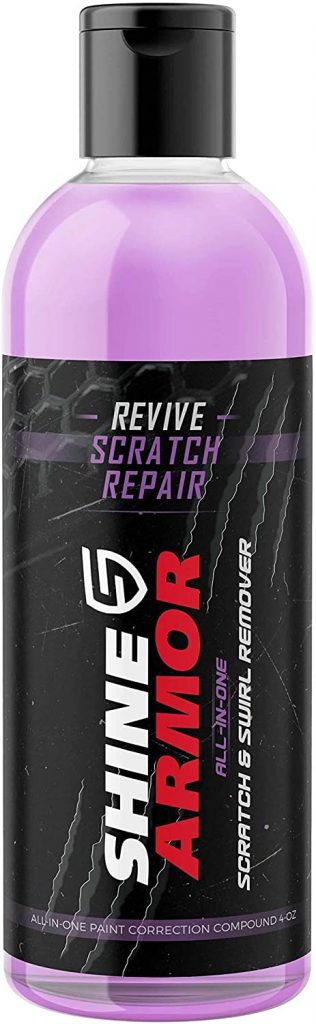
Rejuvenator polishing compounds
These polishing compounds offer slightly less aggressive abrasion and don’t go as deep into the clear coat. Rejuvenator polishing compounds can be used for cars with medium scratches and slight paint imperfections. Examples of good rejuvenator products include Malco Rejuvenator and Shine Armor Scratch Remover.
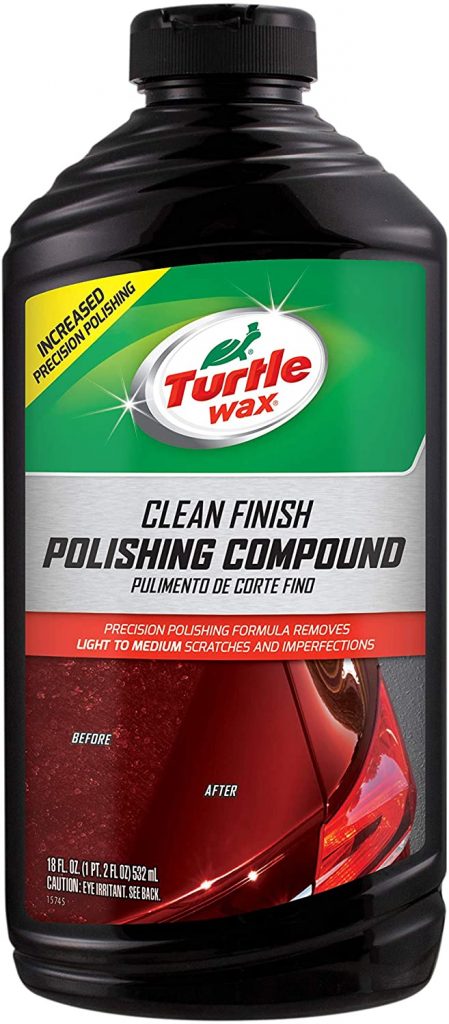
Finishing polishing compounds
As the name suggests, these compounds are meant to remove only minor surface scratches and imperfections to provide an ultra-smooth and shiny finish that we all love. If your car is relatively new, using a finishing polishing compound is the way to go. Good examples include Meguiar’s Mirror Glaze Ultra-Finishing Polish and Turtle Wax Polishing Compound.
NOTE – It is imperative to know the difference between polishing and buffing. The process of buffing involves using a much higher grit compound that significantly penetrates the clear coat. Buffing also has a much higher risk of burning the paint and can only be done so many times. On the flip side, polishing a car aims to heat the clear coat enough to fix scratches and surface imperfections. It doesn’t “remove” as much material and can be done on a regular basis.
It’s important to keep in mind that, no matter how coarse your buffing/polishing compound is, it will always “burn” the clear coat. It does its thing by heating up the coat and consequently will always “remove” some material. To make sure your paint stays as thick as possible, it’s mandatory to always select the finer/softer compound possible. When in doubt, start with a finishing compound first. If there are still scratches, move up one level and do it again.

What kind of buffer/polisher do you need?
A quick Google search will tell you that the online marketplace is flooded with thousands of polishing machines. Most of these machines are simple rotating power tools that meet the minimum criteria required for polishing. However, if you wish to go a step further and achieve a truly spectacular surface finish, get a random orbital polisher. It is an improved polishing machine that uses dual-action motion to evenly distribute the polishing compound over the surface, resulting in a significantly better finish. Not sure which one to get? Take a look at our review of the Best Dual Action Orbital Polishers out there!
Last words
As you will soon find out, polishing your car on your own can easily result in the same showroom fresh shine that professional detailers charge so much for. In addition, you’ll also get a sense of self-satisfaction that only working on your car and knowing that the job has been done right can bring.
So, wait no more and get to work. You’ll be able to cruise around in your shiny car in no time!