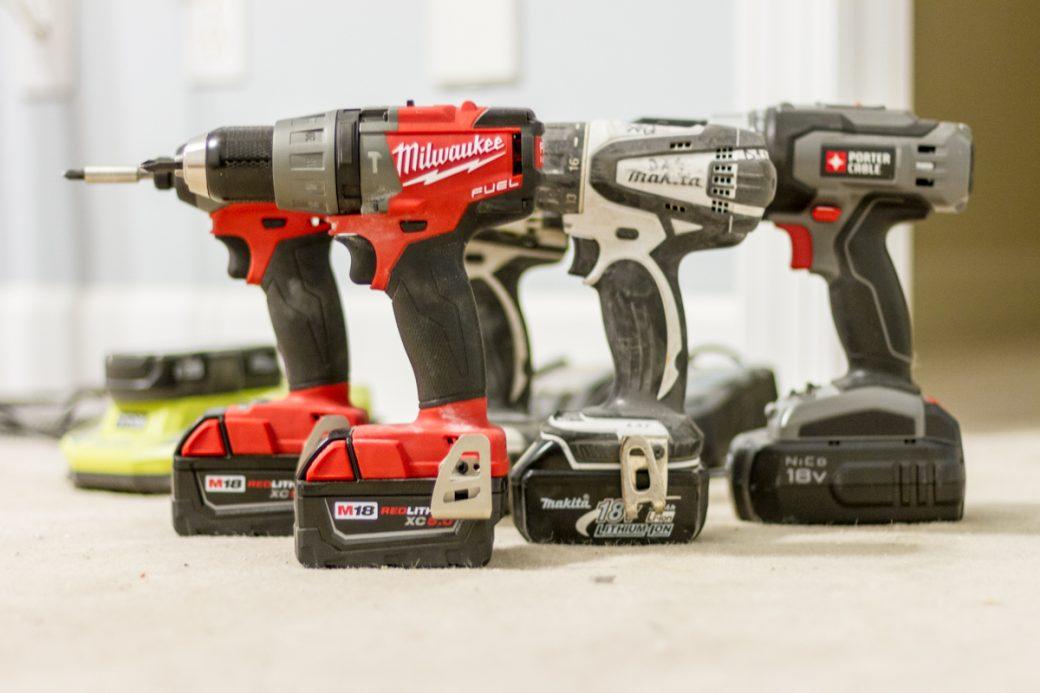
A few weeks back, an apprentice of a contractor doing some work at our soon-to-be house (which is undergoing extensive renovations) asked to borrow the “drill” I was using in an adjacent room on another project because the battery on his had just died. When he returned the tool a few minutes later, he said something to the effect of, “This thing is awesome! Is this a new kind of drill?!?” Given that the kid was something like 18 years old, I gave him a break. What he had borrowed, in fact, was an impact driver, not a drill.
The truth is, a lot of people don’t know the true difference between a drill/driver and an impact driver, or when to use which tool. Moreover, lots of people don’t understand the differences, advantages, or disadvantages between brushed and brushless motors, used to power all kinds of tools we use every day.
Well, we’re gonna break it down for you here on GarageSpot.com, in layman’s terms.
Table of Contents
The Cordless Drill/Driver
The cordless drill/driver, like the well-respected [amazon link=”B079NBC7JN” title=”Milwaukee M18 FUEL ½in Brushless Hammer Drill/Driver” /] pictured below, resembles an old-school corded drill—minus the cord, obviously. The tool is designed to drill holes and drive fasteners, like screws, into just about any material when used with the appropriate bit and torque settings.
[amazon fields=”B079NBC7JN” value=”thumb” image_size=”large”]
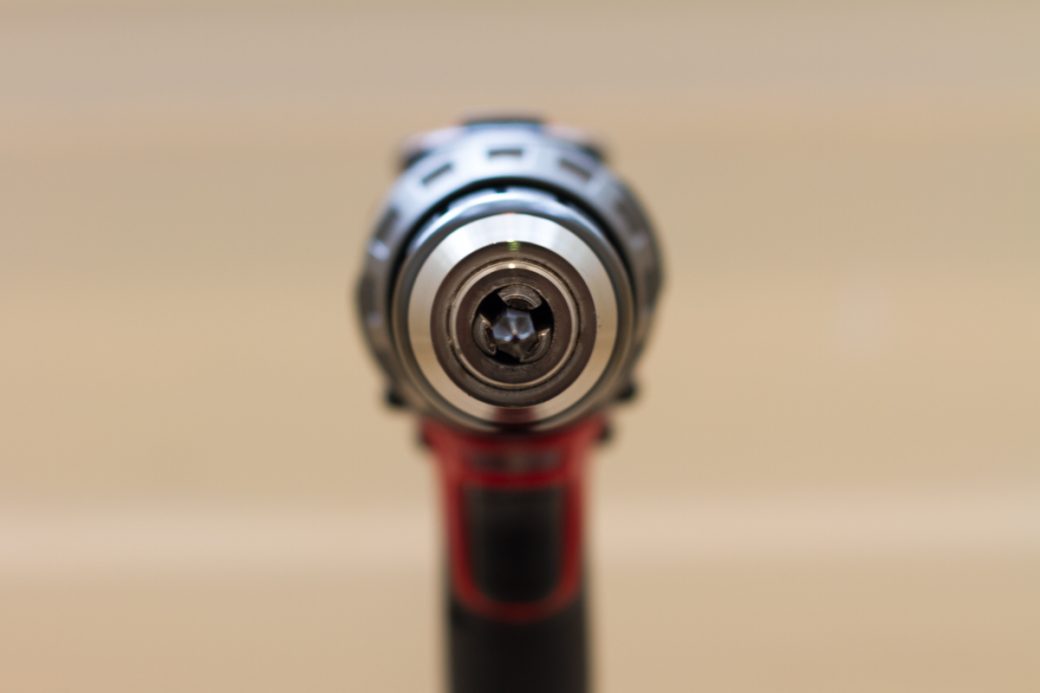
Keyless Chuck, Bits & Accessories
Today’s cordless drill/driver tools use a keyless chuck, which means that you don’t need a physical key to change bits (the chuck is what holds the bit in with its claw-like grips). Most cordless drills can be used with almost any drill bit with a round or hex shank. There are also a wide variety of accessories available, including specialty bits, rotary sanders, hole saws, wire wheel brushes, and more.
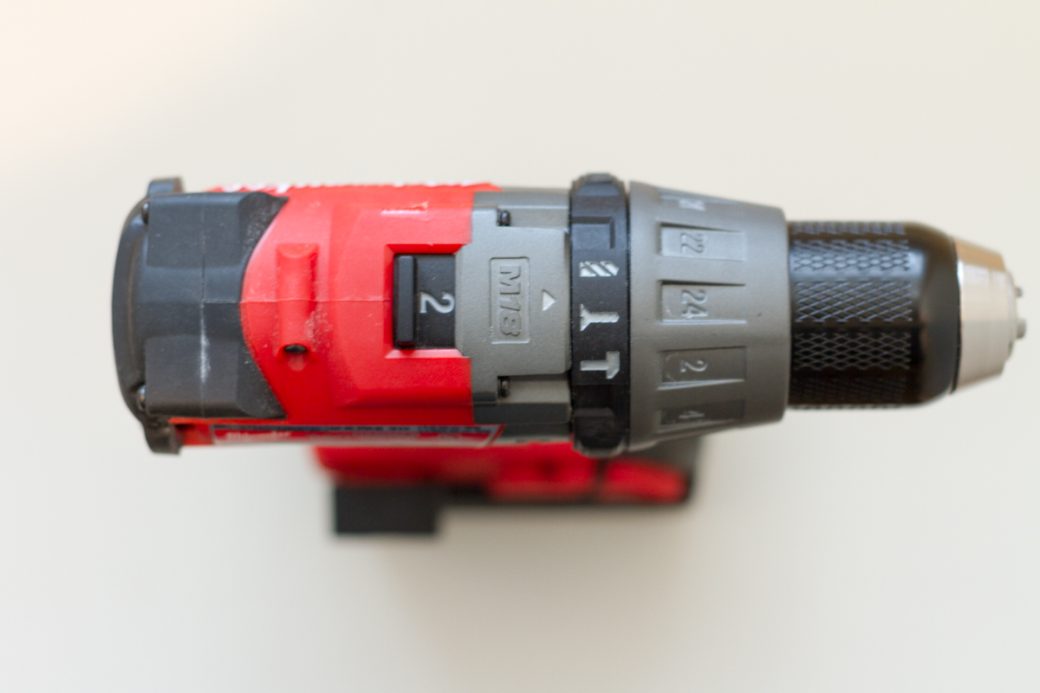
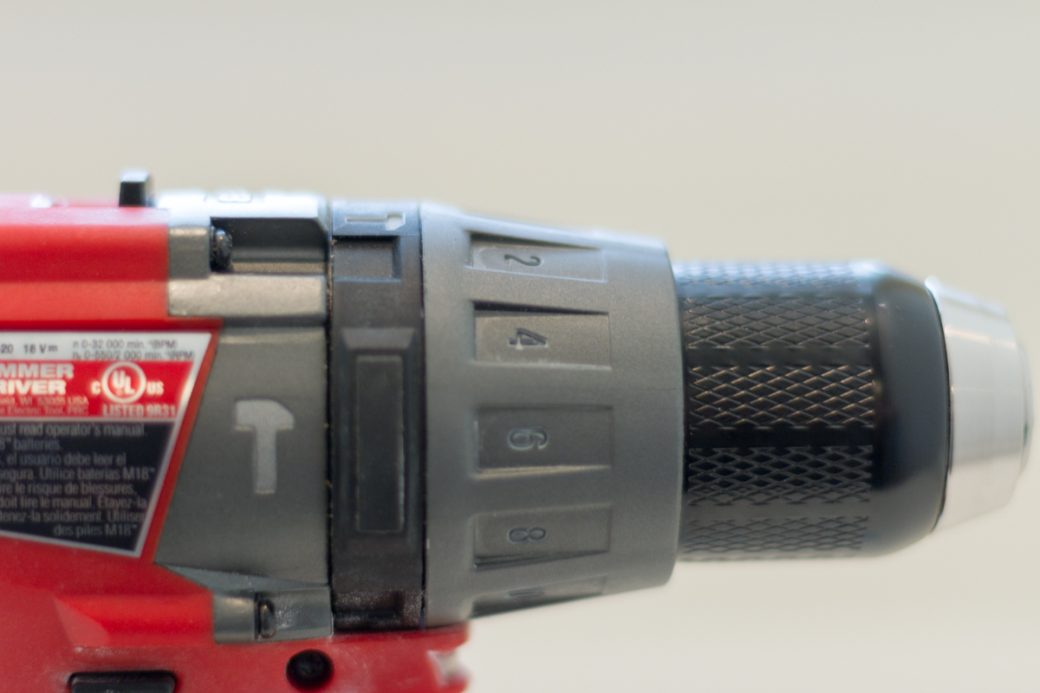
Speed Switch
On top of most cordless drill/driver tools is a speed switch with two or maybe three settings. This switch controls how fast the motor spins. For 90% of the work you’ll do around the house, this switch will be set to position 1. This is a lower speed setting that, when combined with the appropriate clutch setting and bit, gives you more control over what you’re driving or drilling.
When you need more speed, you’ll set the drill’s speed switch to position 2 (or perhaps 3 on some tools). This setting is useful when you want to avoid overheating the material you’re drilling or driving into, which would end up clogging the bit and possibly burning or otherwise harming the material. Don’t necessarily assume that faster drilling or driving is better. For example, driving a screw in too fast could unintentionally countersink it, strip it, or even snap its head off.
Variable Speed Trigger
Almost all drills/drivers use a variable speed trigger. The more you depress the trigger, the faster the motor spins until it reaches its top speed, measured in rotations per minute (RPM), taking the tool’s speed switch setting described above into account.
It’s often difficult to maintain a consistent speed when the trigger is partially depressed. Instead, most people have a tendency to rev the trigger to start the fastener into the material, fully depress it to drive the fastener almost all the way in, then rev it a few more times to finish the job, being careful not to countersink, if that’s not the intention.
Direction Switch
All drill/driver tools have direction switches, usually located near the variable speed trigger. It’s pretty obvious what the switch does—it either spins the motor clockwise or counter-clockwise to drive or remove a fastener. Setting the direction switch to its middle position locks the tool so the trigger won’t work at all. There’s usually an indicator of some sort on this switch so you know which way is which.
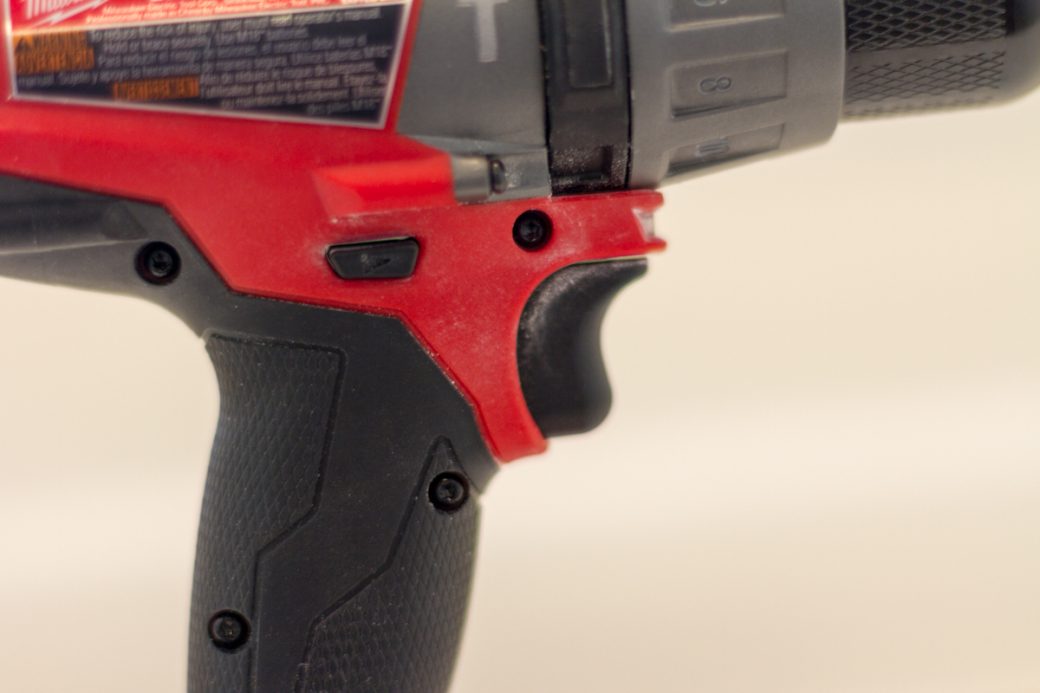
TIP: One thing to consider when shopping for a drill/driver is how the tool feels in your hand. That includes ensuring you can operate the reverse switch with one hand and with gloves on. Trust us: this is an important consideration and will avoid many frustrations later on.
Clutch Settings
Probably the least understood feature of a drill/driver is its clutch—the rotating collar with numbers around it—which allows you to adjust the amount of torque delivered to the fastener before the tool disengages. A higher number will deliver more power, which could strip soft screws (known as camming-out) like those used in decorative hardware. A lower number means the tool will disengage when it reaches a certain amount of torque, resulting in a ratcheting sound as the tool ceases to turn the bit any further.
The best way to determine the amount of torque needed for a particular job is to ease into it by starting with a lower setting, partially driving the fastener into the material, and adjusting the torque ring accordingly. Typically, the idea is to drive the fastener until it’s flush with or just below the surface of the material, depending on the application.
Mode Settings
Some cordless drill/drivers include options for running the tool in different modes. For example, the [amazon link=”B079NBC7JN” title=”Milwaukee M18 drill/driver” /], pictured throughout this article, has three modes: drilling, screw driving, and hammer drilling.
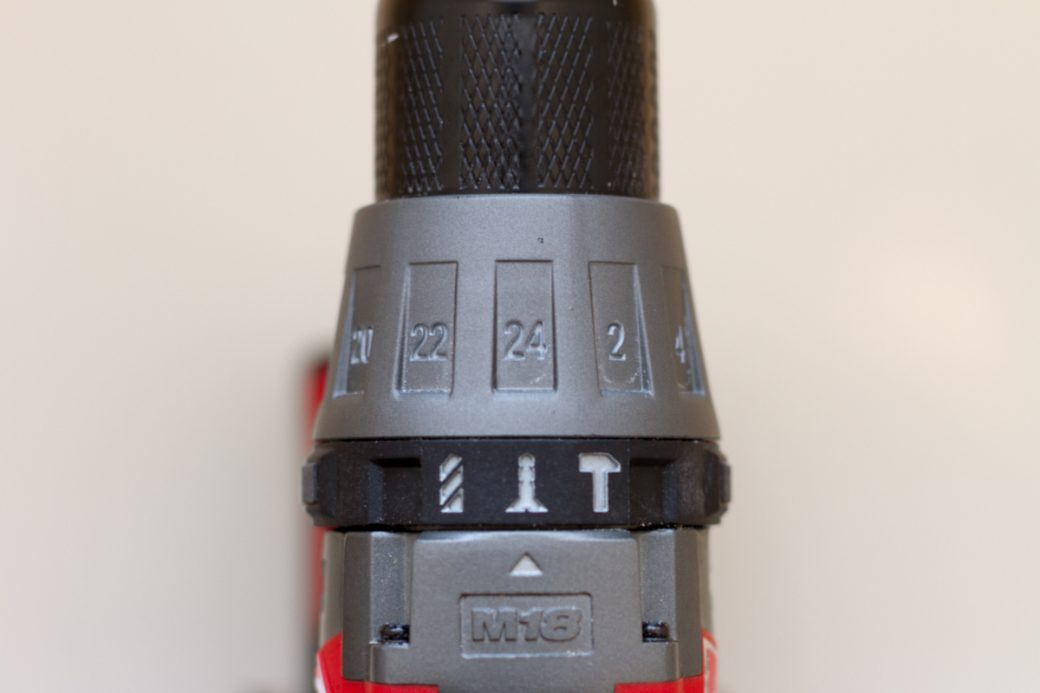
Drilling mode is designed for—you guessed it—drilling holes in most materials. In this mode, the clutch settings will have no effect. There are also accessories (or good old-fashioned painters tape placed around the bit) to indicate or control how deep a hole is to be drilled—when to stop drilling so you don’t go too deep into the material you’re drilling.
In screw driving mode, torque can be adjusted using the clutch. This mode is designed to drive screws and other fasteners consistently over somewhat long periods of time if need be. This is the mode the drill will remain in for most common household chores involving driving screws into various materials.
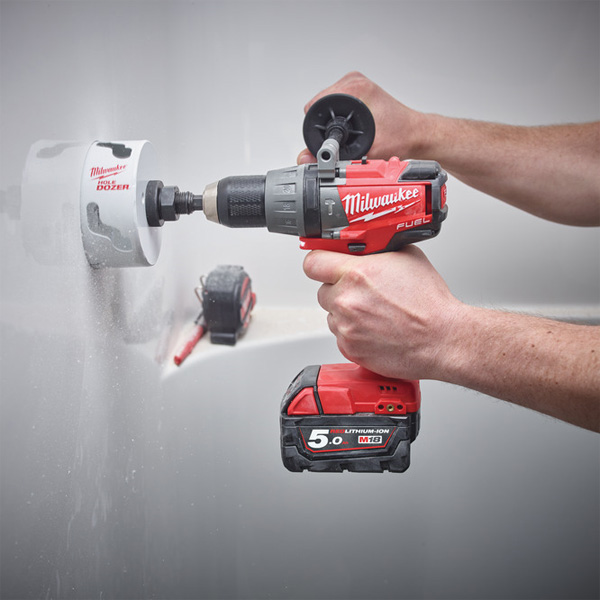
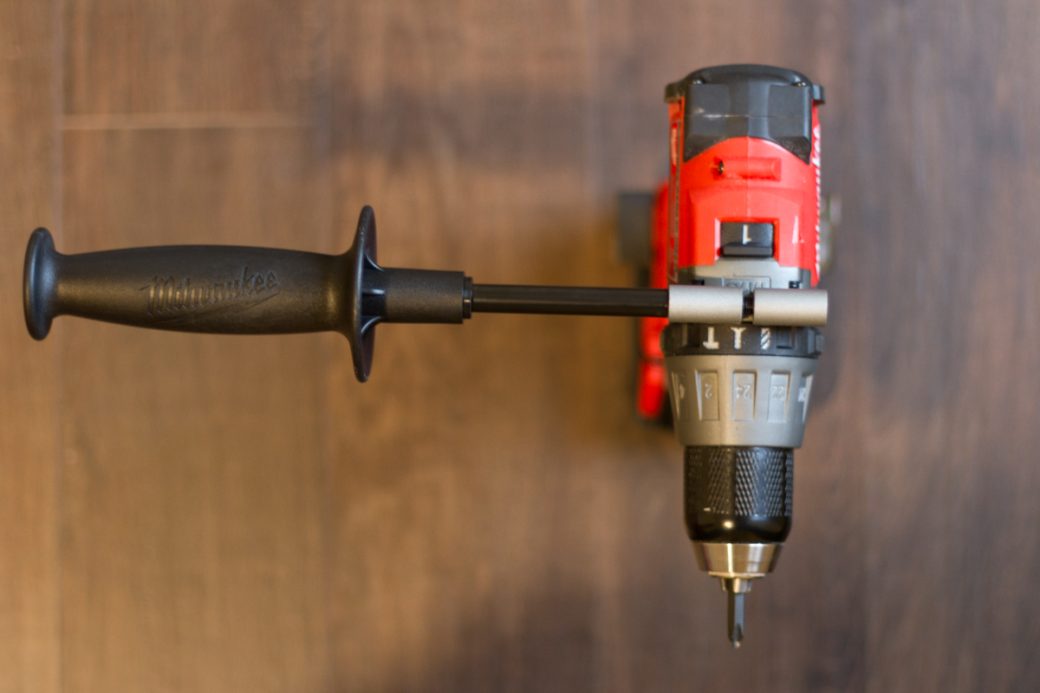
Lastly, some cordless drill/driver tools incorporate a hammer drilling mode (there are also dedicated hammer drills available). This mode is also unaffected by the clutch settings and is used to drill into hard materials—masonry, for example. Hammer mode is not for driving screws or other fasteners into anything.
In hammer mode, applying downward pressure on the drill as it’s spinning will engage the hammer feature, which literally hammers the bit as it spins, making shorter work of hard-surface drilling. Some brands include a removable handle to make managing hammer mode easier (of course, the handle could be used for normal operations, too).
The Impact Driver
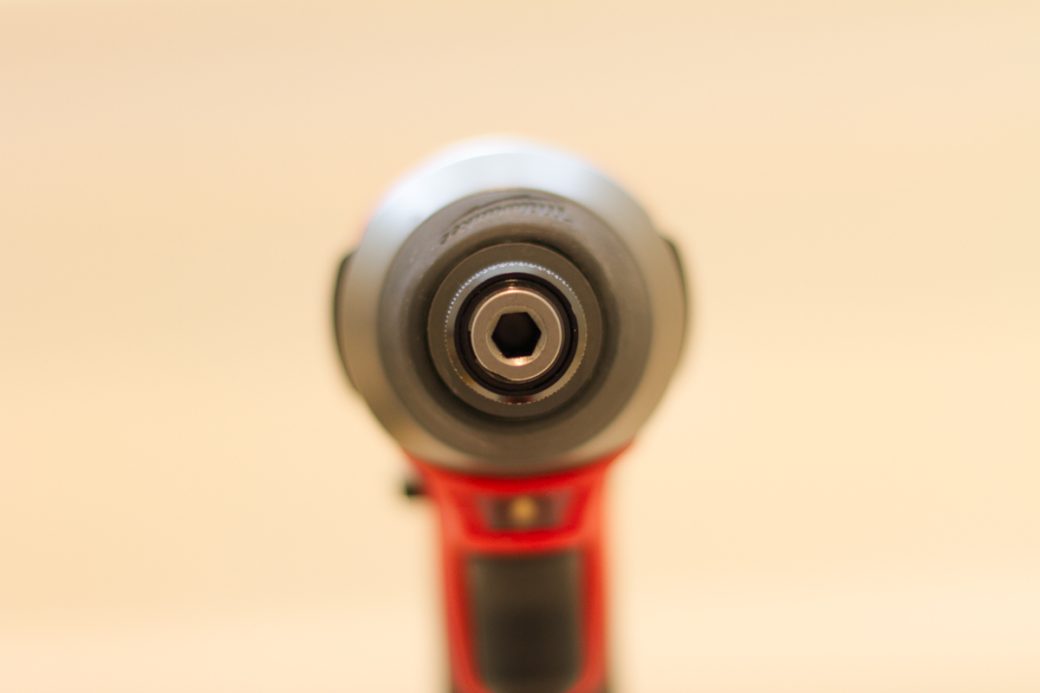
An impact driver, like the extremely popular [amazon link=”B017Y7VJPQ” title=”Milwaukee M18 FUEL Brushless ¼in Hex Impact Driver” /] pictured below, is a powerhouse tool designed for a single purpose: to drive screws… over and over and over again. The impact driver uses both bit rotation and concussive blows to drive screws into even the toughest of material.
[amazon fields=”B017Y7VJPQ” value=”thumb” image_size=”large”]
Impact drivers have replaced drill/drivers in the hands of many, like those who build decks, fences or hang drywall all day, every day. These tools typically deliver far more torque—sometimes up to 3x more torque—than drill/drivers. But because all of that energy is transferred directly to the fastener, your wrist will barely know the difference.
Hex Bits
Instead of a keyless chuck, like cordless drill/driver tools have to hold either round or hex-shaped bits, impact drivers use a ¼” quick-connect collet that accepts only hex-shanked driver bits. Usually, you’ll pull forward on the collet to insert or release the bit. There are accessories available, allowing you to connect other types of bits to the tool, but it’s designed this way for a reason—round-shanked bits are more likely to slip than hex-shanked bits when driving for long periods of time and/or into harder materials.
TIP: When buying hex bits, look for those designed specifically for impact drivers (they usually have a black matte finish). Hex bits made for electric screwdrivers or drill/driver tools are made from a much softer metal and will deteriorate quickly under the force of an impact driver.
Speeds & Modes
Like drill/driver tools, some but not all impact drivers employ different speed settings. In the case of the [amazon link=”B017Y7VJPQ” title=”Milwaukee M18 impact driver“/] we’re using as our example for this article, there are four speed/mode settings available just above the battery at the base of the tool. With the push of a button, the LED light indicates which mode you’re in.
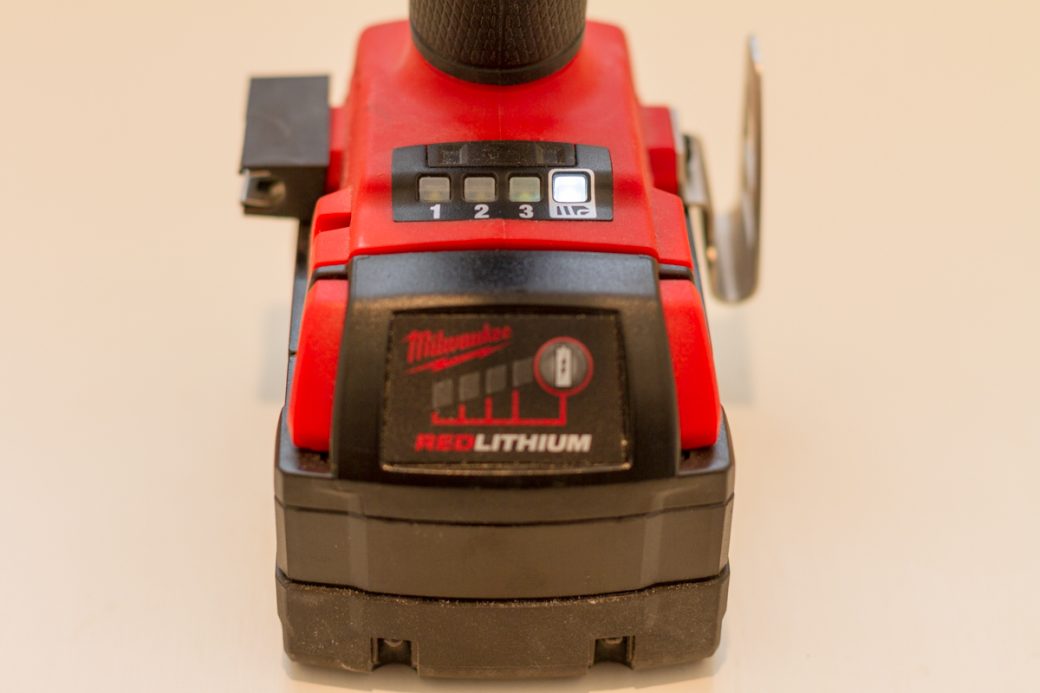
In this case, Mode 1 spins at 0-850 RPM, Mode 2 at 0-2,100 RPM, and Mode 3 at 0-3,000 RPM. This particular model also has a Self-Tapping Screw Mode, designed to reduce walking when starting self-tapping screws as well as reduce overdriving, breaking, and screw cam-out. In this mode, the motor spins up slowly for a brief moment before hitting top speed and finally slowing back down to finish the drive.
Like drill/driver tools, some impact drivers, including our Milwaukee model, also have variable speed triggers. Because of the power these tools deliver, their triggers are more sensitive than on the typical drill/driver.
Brush vs. Brushless Motors
As it relates to cordless drills and drivers, there’s no question that the newer brushless motors being incorporated into today’s tools are significantly better than older brushed motor technology in almost every regard. Brushless tech is not new, but as tool companies began to launch their own versions of one battery to power multiple tools, the race was on to develop premium tools with brushless technology.
Without turning this into a nerdy science essay, brushed motors create friction, resulting in more noise, more heat, and a loss of energy and speed. Brushes also wear out and need to be replaced after heavy usage. Most people, however, will simply trash and replace a poor-performing cordless tool instead of having its brushes replaced.
Conversely, brushless motors do not contain any parts that physically come into contact with one another as a result of generating power, thereby eliminating any loss of energy or speed. They are more expensive to manufacture, which means tools with brushless motors cost more. But brushless motors run cooler, quieter, and more efficient than brushed motors, which equates to less maintenance, longer life, more power, and longer runtimes between battery swaps.
If you do want to get nerdy, here’s a brief video from Galco explaining the differences between brushed and brushless DC motors.
What to Use??
First, the differences between brushed and brushless motors should make the decision almost a no-brainer. If you’re looking to invest in new tools, seriously consider brushless technology for its many advantages, as outlined above.
For everyday household repairs and whatnot, a solid cordless drill/driver will do the trick for the vast majority of our readers. You’ll almost always have the tool in speed position 1 and its torque ring in screw driving mode. That said, having the other tool features available (e.g., not opting for a toy-like electric screwdriver instead), will come in handy at times.
[amazon box=”B079NBC7JN”]If you foresee yourself driving a ton of screws for various projects, the impact driver is the way to go. That doesn’t mean that, if you’re a woodworker who actually does drive a ton of screws, for example, the impact driver is necessarily better. Most workshop woodworkers aren’t power-driving screws, except on larger projects like furniture. For most woodworkers, a good drill/driver will be more advantageous than an impact driver. Of course, having both on-hand is an even better option.
[amazon box=”B017Y7VJPQ”]


![Best Tire Changers for Amateurs and Professionals [2022 Review]](https://garagespot.com/wp-content/uploads/2022/01/Best-tire-changer-e1652905942544-compress-211x150.jpg)