I’ve had some smaller parts on the Jeep that I’ve wanted powder coated for a while now—accessory brackets and such—but just haven’t been able to justify the cost of paying someone else to do it. I do know a guy that does powder coating professionally, but I’d still want to pay him to do the work. So, I went hunting for a DIY powder coating solution.
I found a few different options that were surprisingly affordable, given that I already have an air compressor and a small oven (more on all of that in a sec). If you don’t already have those two somewhat larger-ticket items, then it’ll be hard to justify the expense of a DIY powder coating setup if you only intend to coat a few parts and nothing more.
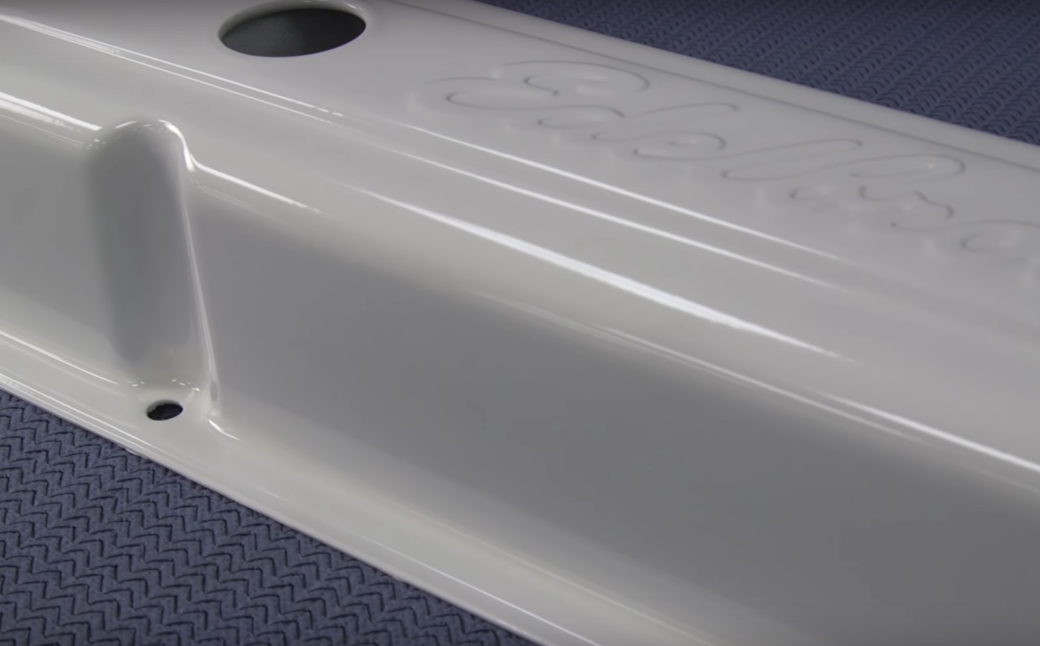
One thing to keep in mind when considering a DIY powder coating setup, however, is that lots of things can be powder coated—not just auto parts. Plus, powder coating is 100% forgiving (pre-cured), less messy (kinda), and much more durable than paint.
What You’ll Need
The Air
[amazon fields=”B000O5RO1Y” value=”thumb” image_size=”large”]
You’ll need an air compressor to use the DIY powder coat guns below. Most guns only require 5-10 PSI, so almost any light-duty compressor will do, like the popular [amazon link=”B000O5RO1Y” title=”Porter-Cable Pancake” /]. You’ll need [amazon link=”B01N0GWKG9″ title=”A good regulator” /], too, if your air compressor doesn’t have one built-in.
The Gun
For me, legit powder coating guns are used with an air compressor. There was a [amazon link=”B07H489KGR” title=”Craftsman electric powder coat gun/kit” /] available once upon a time, but I don’t think it’s available anymore.
There are a few options I personally would consider (really, just three):
- EASTWOOD PCS-250 Dual Voltage Powder Coating Gun
- CHICAGO ELECTRIC Portable Powder Coating System
- MOPHORN WX-101 Powder Coating Machine
There’s a ton of debate online around Chicago Electric, Chicago Pneumatic, Grizzly, Harbor Freight, Redline, Northern Tool (not as much), and a few others that I won’t get into here. Bottom line: the Chicago and Grizzly powder coating machines are nearly identical with the exception of the branding and colors scheme.
For me personally, Eastwood is just a brand I trust more. Their DIY powder coat gun, the HotCoat, is in its second generation, with several improvements—most notably its new dual-voltage setting, offering more effective coverage of large areas.
The Powder
[amazon fields=”B07RLS69MT” value=”thumb” image_size=”large”]
Most powder coat guns will work with most powders. One very popular powder coat powder color in the DIY automotive parts powder coating space is the Eastwood HotCoat powders with over 100 colors available in various colors and textures, including metallic, gloss, flat, textured, and translucent colors.
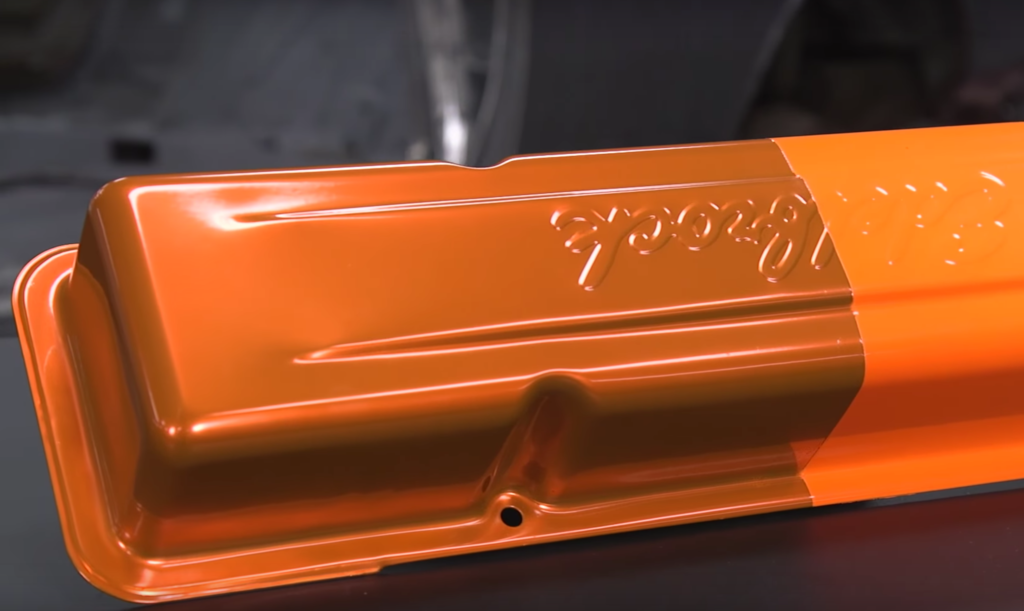
One cool thing to consider with powder coating is that you can achieve lots of great custom colors and effects by laying down powder on different types of finishes and other cured powder colors being used as a base coat.
For example, cured orange powder coating on a chrome finish looks different than cured orange powder coating on a chrome finish with a cured white powder coat base. Experimentation is encouraged!
The Heat
You can only really effectively powder coat a part as large at the oven you have access to, which is required to cure the powder. You really, really shouldn’t use your kitchen oven unless you never intend to use it to cook food in again. Used ovens are all over the place, and the larger-sized toaster ovens are also somewhat affordable.
Some companies, again, like Eastwood, also sell ovens specifically designed for power coating (or so they say). Of course, you can buy [amazon link=”B01DMYZ45G” title=”professional powder coat ovens” /] that hold car bumpers—or perhaps a whole car—from $5k-$15k, but we’re focusing on the enthusiast here. A proper [amazon link=”B009M8RAD6″ title=”curing lamp” /] would also work for certain projects.
[amazon fields=”B009M8RAD6″ value=”thumb” image_size=”large”]
By the way and although it may seem like it, Eastwood had absolutely nothing to do with this post… they just have a great supply of DIY powder coating stuff, as well as some great how-to content.
The Process
DIY powder coating is actually quite simple once you have all the right gear. First, you’ll want to clean and prep your piece to ensure there’s no oil, wax, or any other residue on the areas to be powder coated. Start by blowing it with an air compressor, then wiping with this paint-prep or similar. Make sure it’s dry. A good tip is to preheat the piece to about 100° in your powder coat oven, then remove it and start coating.
Next, you’ll want to preheat the oven to about 450° or to whatever the powder manufacturer recommends. Add the powder color of your choice to the powder coating gun’s canister and plug the air compressor line into the gun. The air pressure should be regulated somewhere between 5 and 10 PSI, or whatever the gun manufacturer states.
Attached the powder coating gun’s ground cable to the part itself or the rack you’re woking on (usually, the oven rack… outside of the oven, of course). If you’re using a powder coating gun with adjustable voltage, you’ll want to set it to its lowest voltage for small and/or contour areas, and the higher voltage for larger areas.
Spray the piece as you would with a rattle can of spray paint, ensuring to cover the piece uniformly and completely. The beauty of power coating is that if you mess up, you can just blow the powder off with an air compressor and start over. Once the piece is covered with powder, place it in the preheated oven (again, usually 450°) until the piece is somewhat glossy. Then, drop the temperature to 400° and bake the piece for about 20-30 minutes, allowing it to fully cure. Use a [amazon link=”B00DMI62HM” title=”laser thermometer” /] to monitor the piece so it doesn’t get hotter (or cooler) than it should.
[amazon fields=”B00DMI62HM” value=”thumb” image_size=”large”]
Finally, remove the piece from the oven, allow it to cool and, within a few minutes, you’ll have an amazing looking piece that’s more durable and better looking than if it were covered in spray paint.
Since I’ve mentioned Eastwood so many times in this article, I may as well throw in their brief how-to video on DIY powder coating (using their products, of course) for good measure, so you can visualize the process outlined above.
