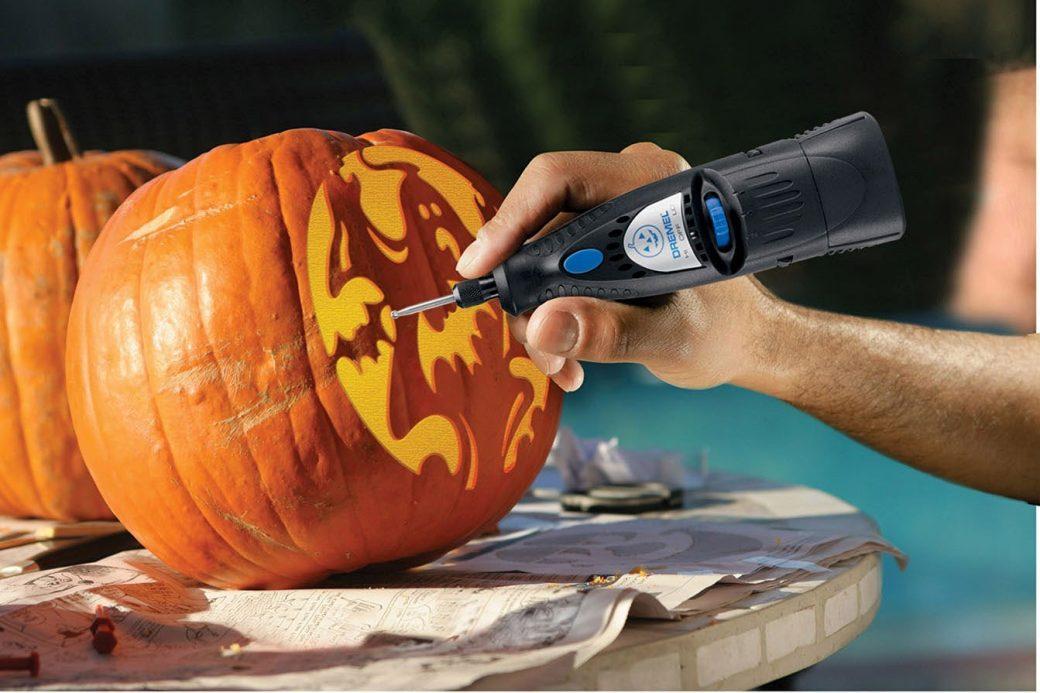
Halloween is just around the corner, and that means carving pumpkins with the kiddos. Sure, you could do things the old-fashioned way with knives and such, but us garage geeks would much rather use power tools (insert Tim Allen grunt here)!
If you already own one of the smaller Dremel tools that you can hold like a pencil—like the [amazon link=”B008DRY5AI” title=”Dremel 8220-1/28 Cordless Rotary Tool Kit” /]—then you’re all set if you just grab a [amazon link=”B0006N72XE” title=”191 High-Speed Cutter” /] bit and perhaps one of the [amazon link=”B007COAAT8″ title=”EZ Drum Mandrel” /] accessories.
[amazon fields=”B008DRY5AI” value=”thumb” image_size=”large” image_alt=”Dremel 8220-1/28 12-Volt Max Cordless Rotary Tool Kit”]
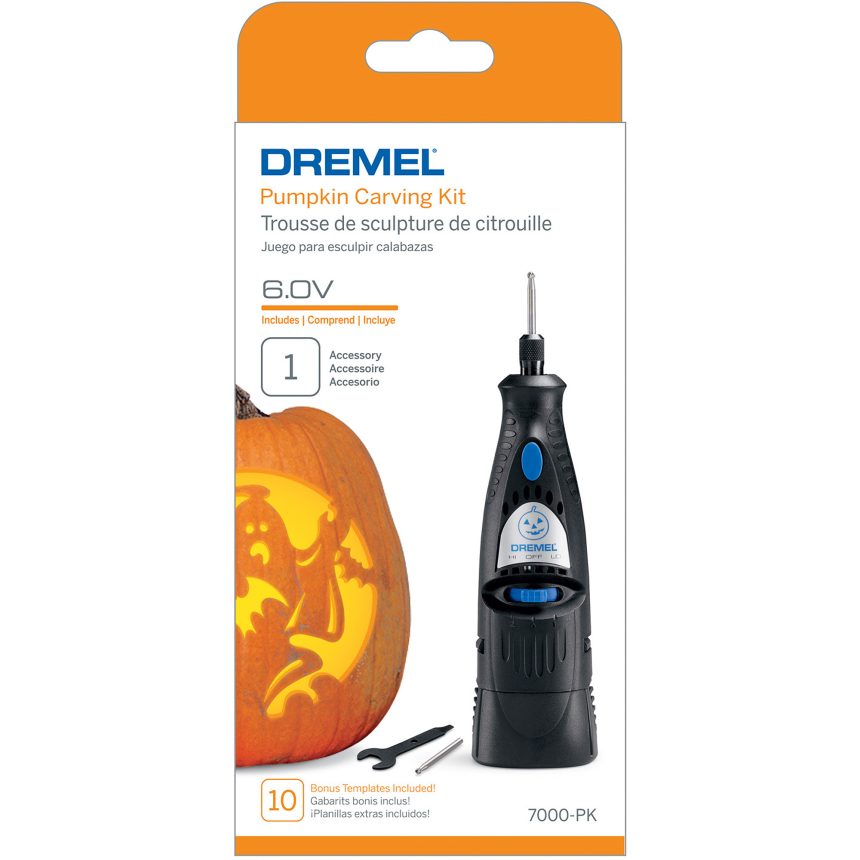
If you don’t have a lightweight rotary tool already, for less than $20 you can pick-up the [amazon link=”B003TU0XFK” title=”Dremel 7000-PK 6-Volt Pumpkin Carving Kit” /] [update: it’s currently unavailable]. Yeah, it’s cheap, only comes with a single #191 high-speed cutter accessory, and it burns through alkaline batteries like kids through candy on Halloween night, but it will get the job done for much less than buying a more expensive Dremel kit. This kit also includes 10 pumpkin carving templates.
With your rotary tool of choice ready to go, you can download free pumpkin carving templates to print and use on your own pumpkin from all over the web. Our favorite library is from The Pumpkin Lady, offering over 700 free downloadable templates in PDF format. Another great site is Pumpkin Pile, which also offers hundreds of PDF pumpkin carving templates.
Once you’ve got your sacrificial pumpkin in-hand, and you’ve decided on a template (or freehand, if you’re that good), follow these steps to carve the pumpkin using your Dremel or other rotary tool:
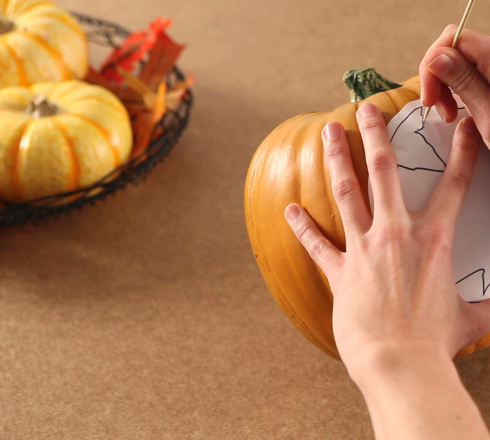
1. Tape the template to the face of the pumpkin and use something sharp—a thumbtack or skewer, for example—to poke holes along the lines of the template. You will use your rotary tool to retrace this path later.
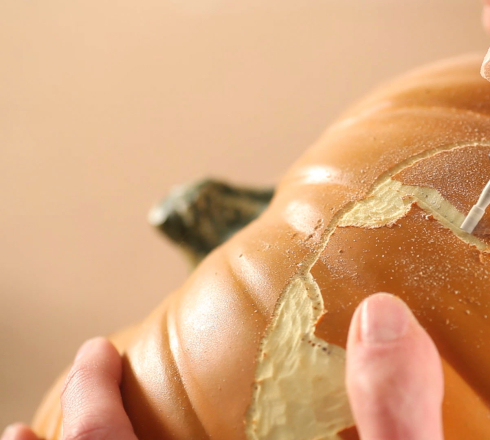
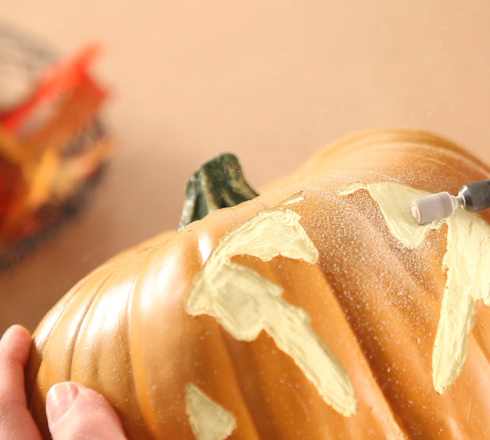
2. Remove the paper template and use your rotary tool with the high-speed cutting accessory attached to trace the pattern. Make sure you’re pumpkin is secure, use a steady hand, and don’t press down on the rotary tool or it’ll poke right through the pumpkin.
3. Finally, smooth the design out with the drum sanding bit, which can also be used to create a nice texture—smooth or bumpy.
To light your new carving up at night, cut a circle around the bottom of the pumpkin and clean out the inside of the pumpkin using the [amazon link=”B002RS68F4″ title=”pumpkin scraping tool” /] or a large spoon. Then set the pumpkin on top of a candle or other light source. Most people use the pumpkin stem as the top, but hollowing from the bottom creates a cleaner look.
Happy carving!


![Best Tire Changers for Amateurs and Professionals [2022 Review]](https://garagespot.com/wp-content/uploads/2022/01/Best-tire-changer-e1652905942544-compress-211x150.jpg)
I absolutely loved this post! Carving pumpkins with a Dremel is such a creative idea, and your tips are super helpful. Thanks for sharing!
Love this post! I’ve been thinking about trying carving pumpkins with a Dremel for years now, and your tutorial has convinced me to give it a shot!
Thanks a lot!
Love this tutorial! I’ve been wanting to try carving a pumpkin with a Dremel for years, and your steps are super clear and easy to follow. Can’t wait to give it a try!
This is a great tutorial! I’m going to try this out this weekend!
This is a great tutorial! I’m going to try this out this weekend!