A while back, we covered a really cool little Bluetooth-enabled hoist called the MyLifter. While we didn’t have one on-hand to review at the time, we thought it seemed super-useful when used in various configurations to store stuff up and out of the way in the garage.
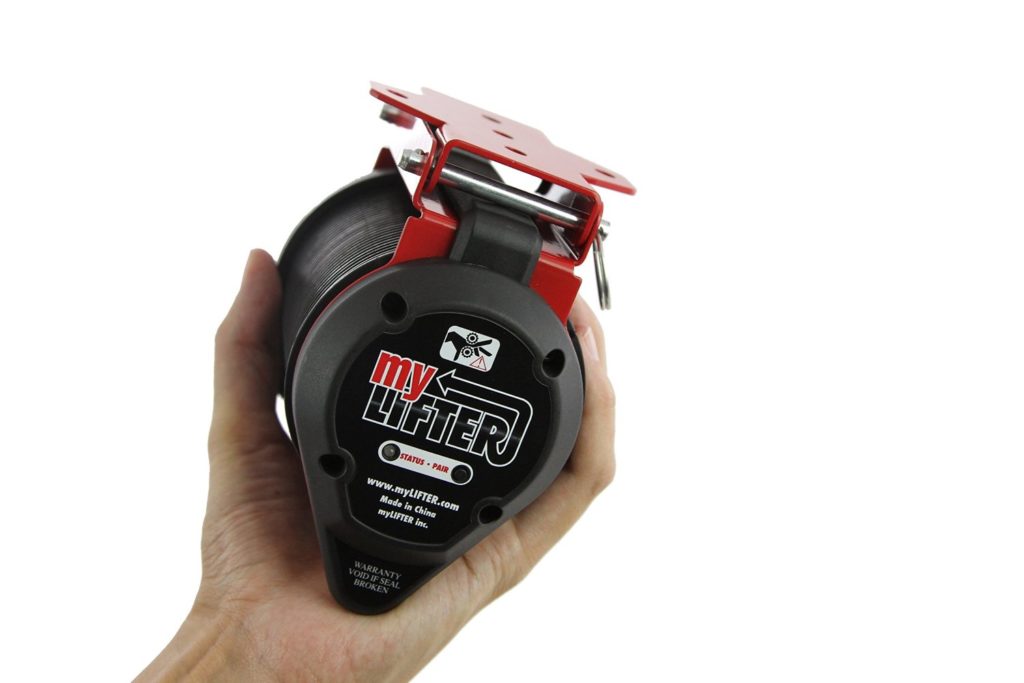
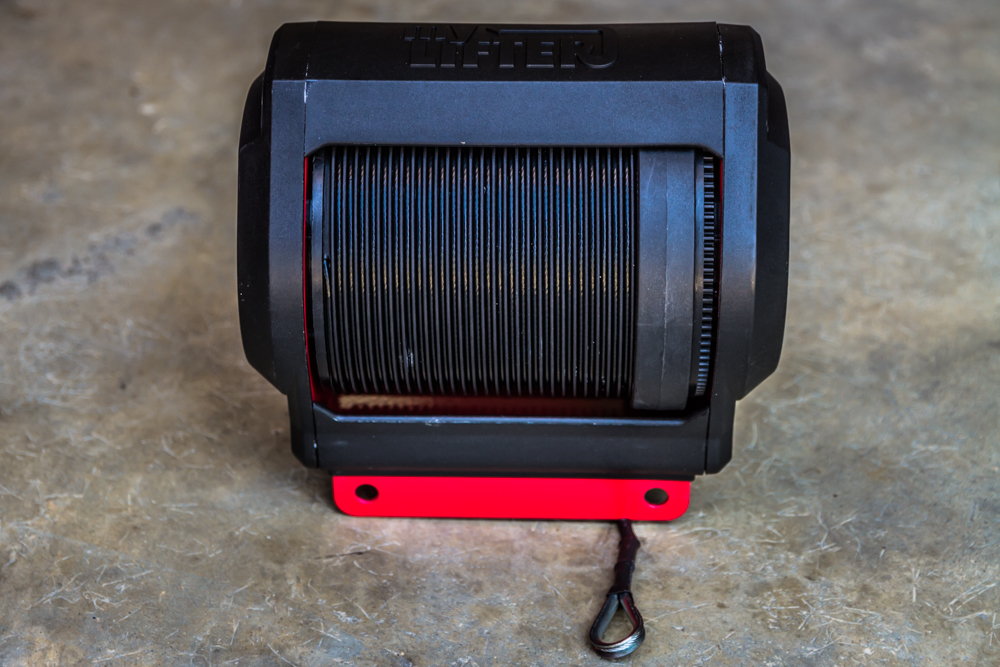
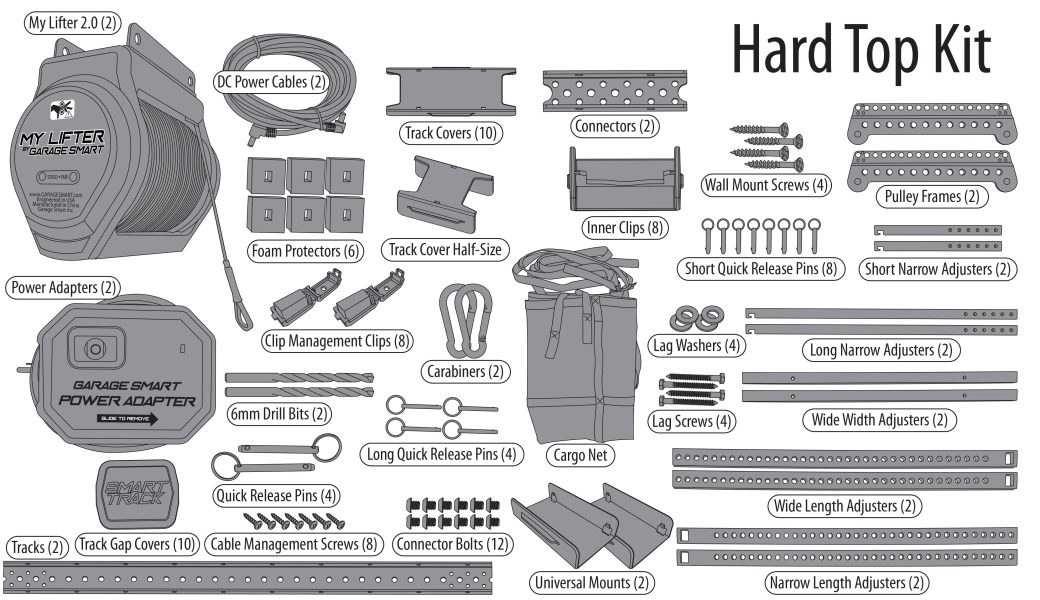
The company that developed the MyLifter, with a little help from a Kickstarter campaign, has since changed its name to GarageSmart. They saw our write-up, found out we were avid Jeepers, and sent us their new Hard Top Lifter kit for review, which includes two MyLifter 2.0 hoists!
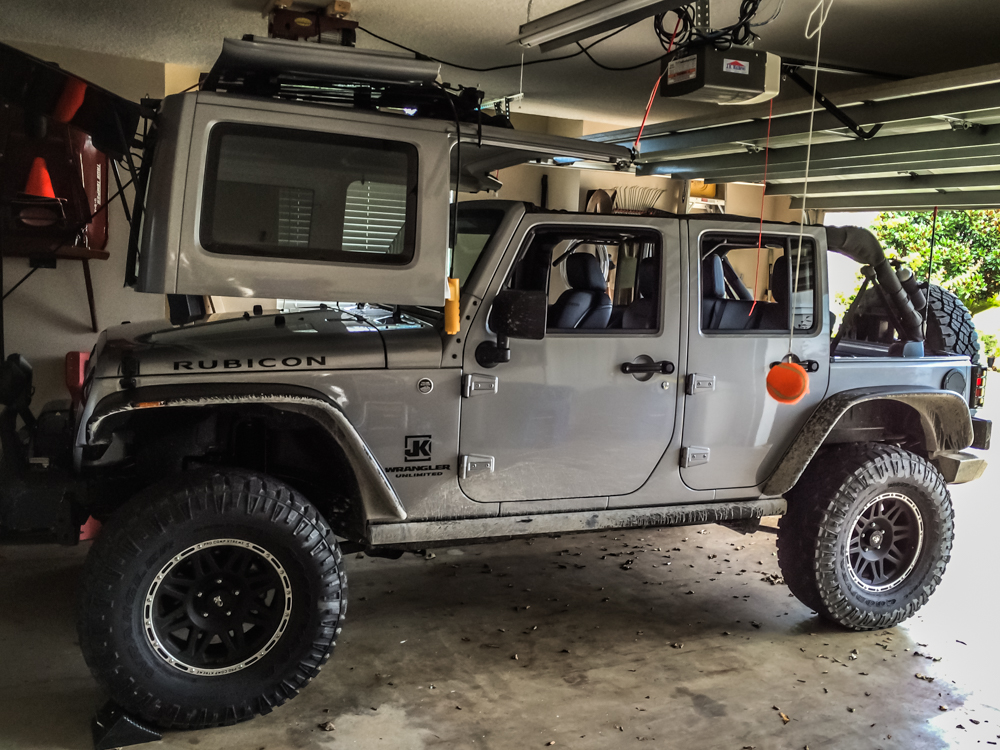
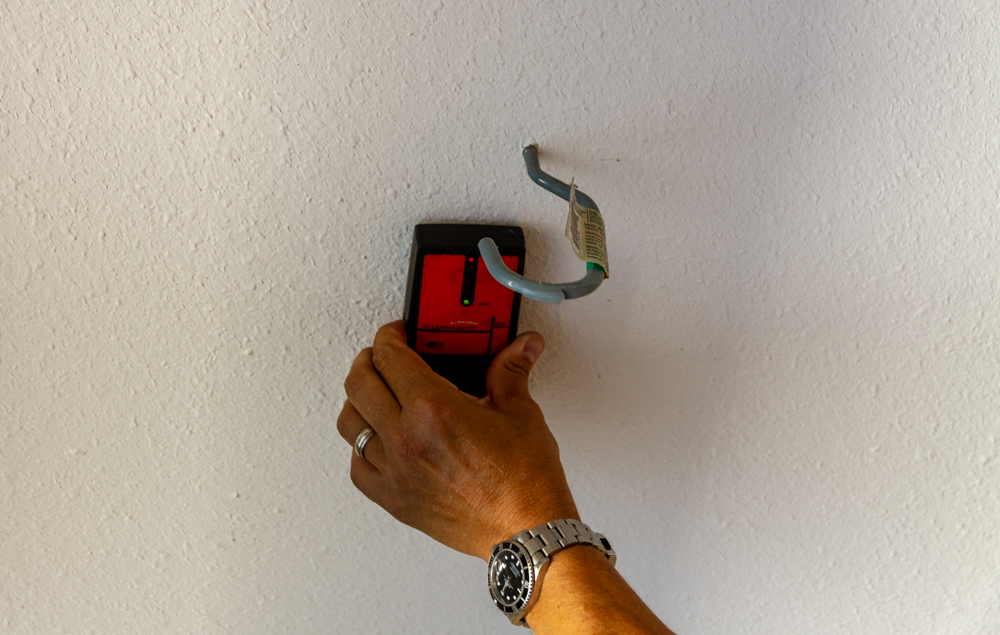
Now, when I first got my Jeep JK Unlimited Rubicon back in early 2013, I almost immediately installed a hardtop lift kit in my garage that I had ordered online. But I ditched their manual-crank winch and bought a cheap but very effective electric hoist, mounted it on the ceiling of my then cramped garage (see below), and never looked back.
Indeed, I bought a [amazon link=”B01N0FK62A” title=”Trektop NX from Besttop” /] and almost never put the hardtop on again. In fact, it hung from the ceiling for years until I just recently donated it to a fellow Jeeper.
Since none of us here at GarageSpot could use the My Jeep Top Lifter, we decided to give it away to a random fellow Jeeper from one of the local Jeep clubs, with the caveat that I needed to review the product, including the installation process. And it was a bit of a process, but some of that was clearly our fault.
Packaging
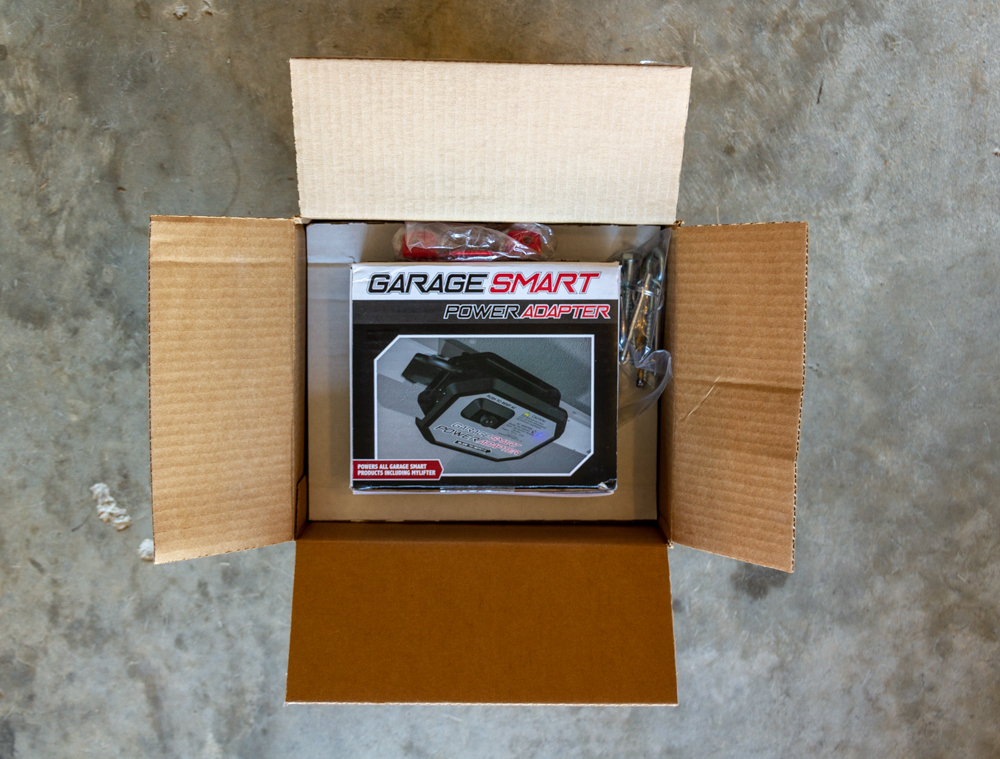
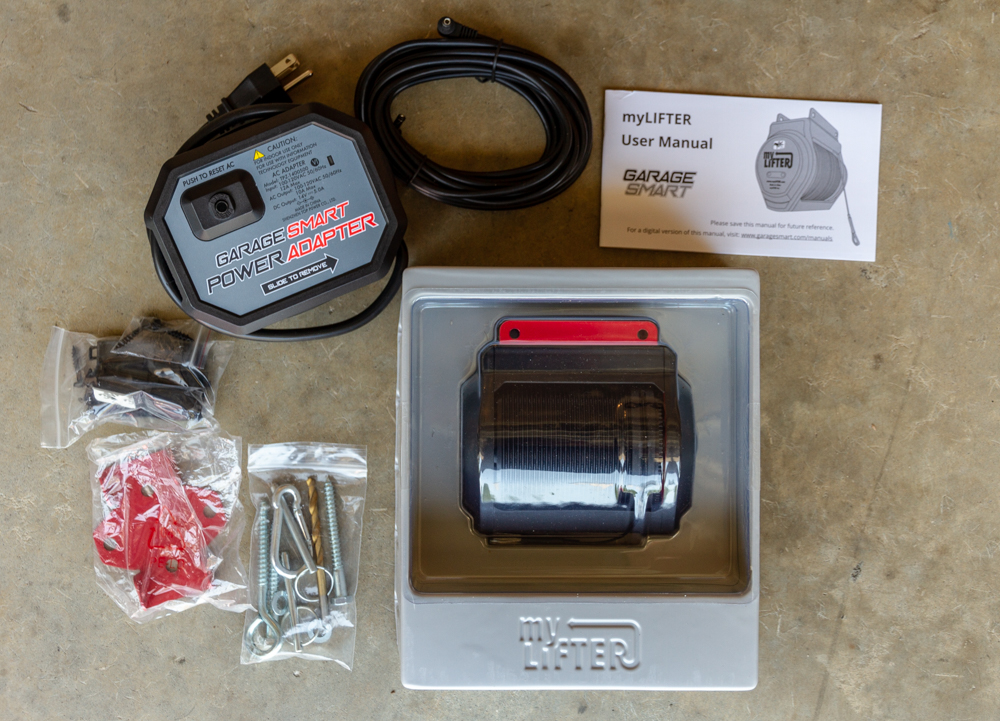
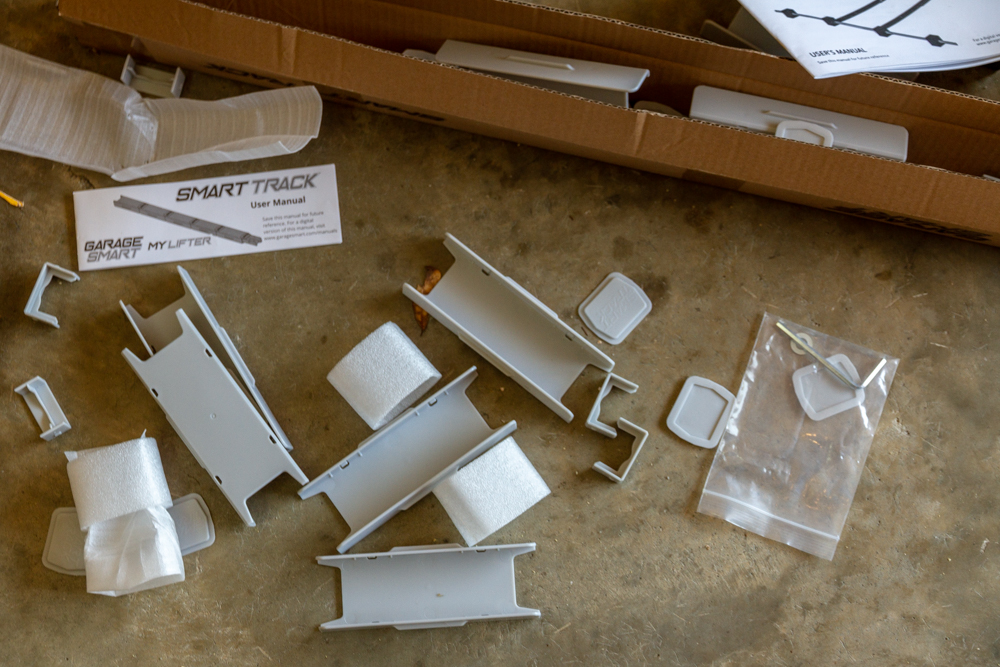
GarageSmart’s Hard Top Lifter was packaged well, but it was clear that the kit is pieced together with several of the different components used in other GarageSmart kits. There’s nothing inherently wrong with this, except that each component had its own printed instructions. We found, at times, that some of those instructions were different than those found in the actual Hard Top Lifter instructions.
Sure, “just use the Hard Top Lifter’s instructions then, dummy!” But those instructions weren’t always clear… more on that in a few.
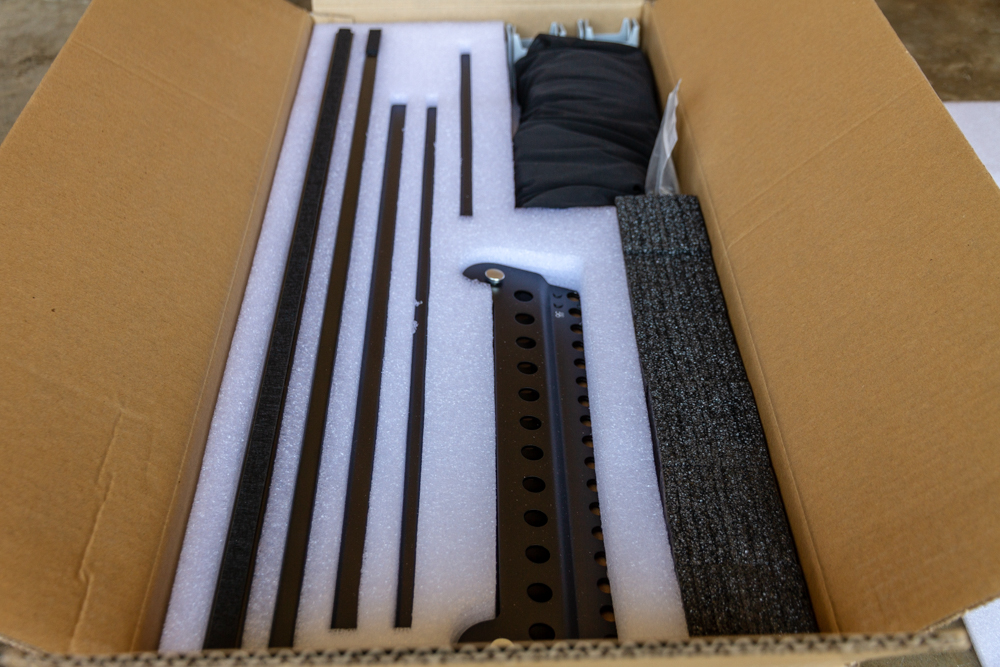
The individual components—the Hard Top Lifter frame and hardware, the MyLifter Bluetooth-enabled hoists, the power adaptors for the hoists, etc.—were all packaged very well and ready for retail. No complaints there.
See Also: 6 Best Jeep Hardtop Hoists Review
Installation
First up: the garage we installed the Hard Top Lifter in was only about 8′ tall but we knew that it only required a little bit of lift to get the hardtop off, up, and out of the way. The Jeep itself was also stock, so there was no lift kit or big tires to worry about taking up headroom.
Second: GarageSmart says that this is a one-person install. And while I don’t doubt that at all, I do think that having at least two people makes the installation a bit easier. There were actually three of us—two stereotypical stubborn dudes who didn’t really want to read the instructions up-front, and a woman who did.
We made a good team…
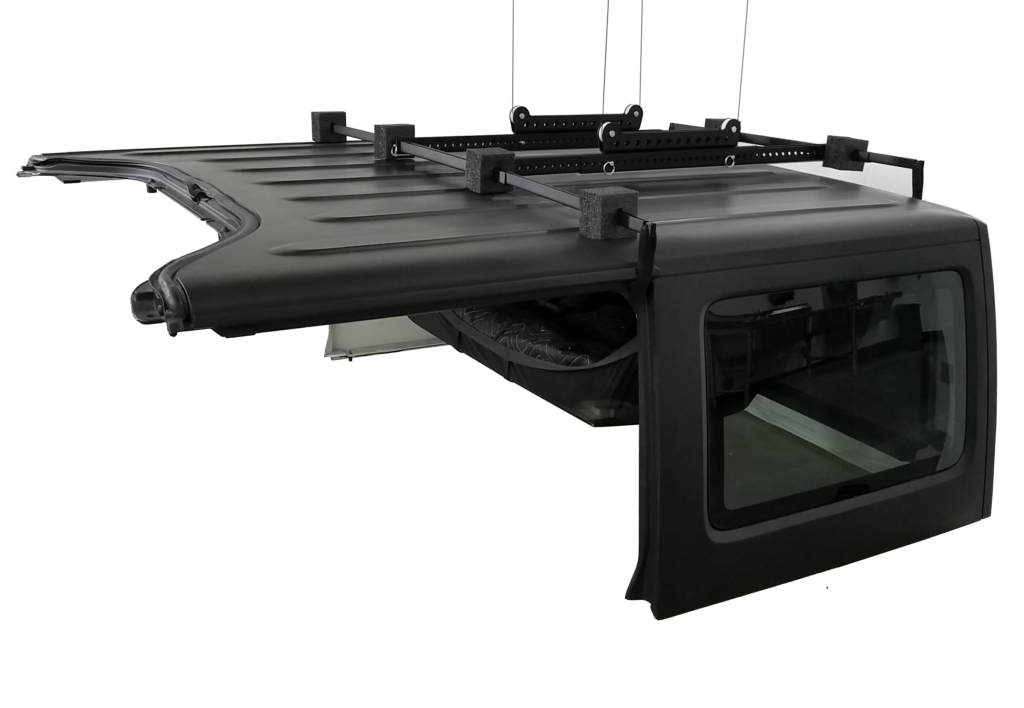
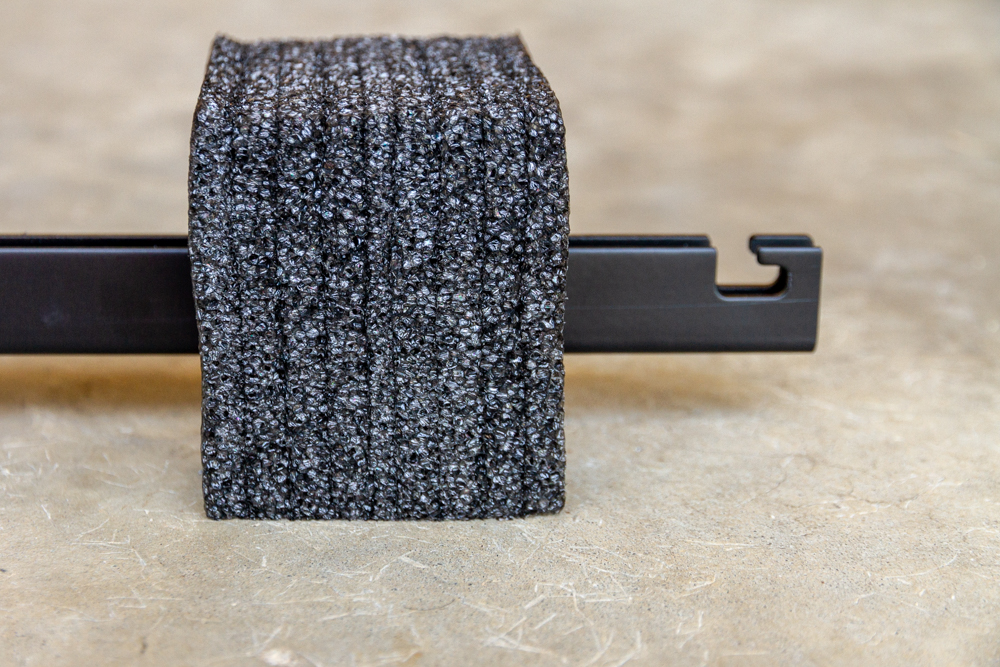
The My Jeep Top Lifter works like most Jeep hardtop removal systems: there's a metal frame that somehow connects to the rear and sides of the hardtop (the frame is padded somehow to protect the hardtop itself), and a series of cables leading up to a hoist or winch of some kind lifts the hardtop off of the Jeep in a [hopefully] balanced manner.
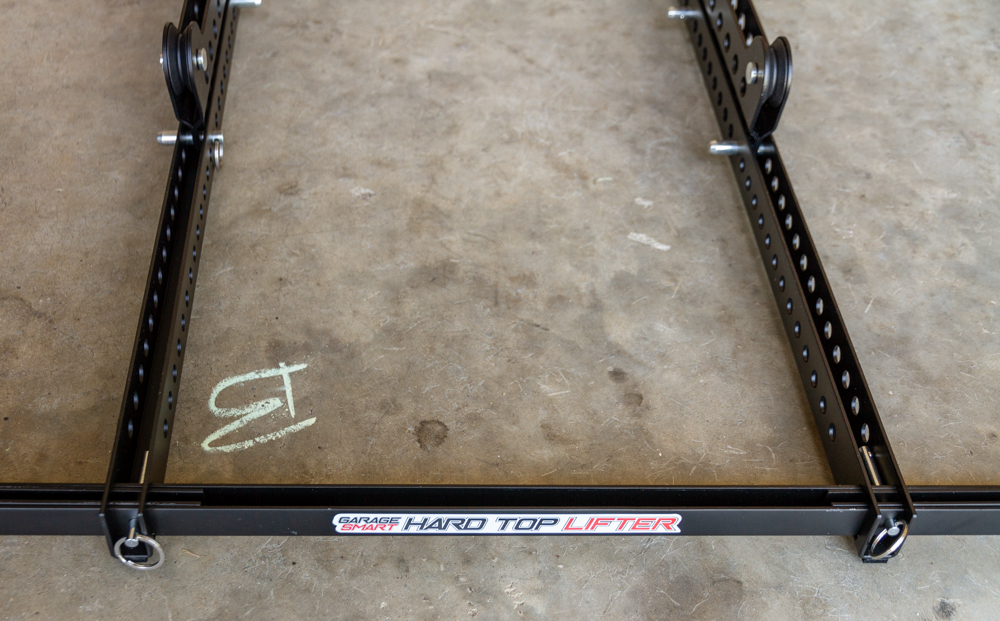
We inadvertently began with the frame first (again, two stubborn dudes) instead of mounting the tracks on the ceiling, as per the instructions. Later, we learned that wasn’t the best idea since we ended up having to adjust the width of the frame again to align with the tracks on the ceiling.
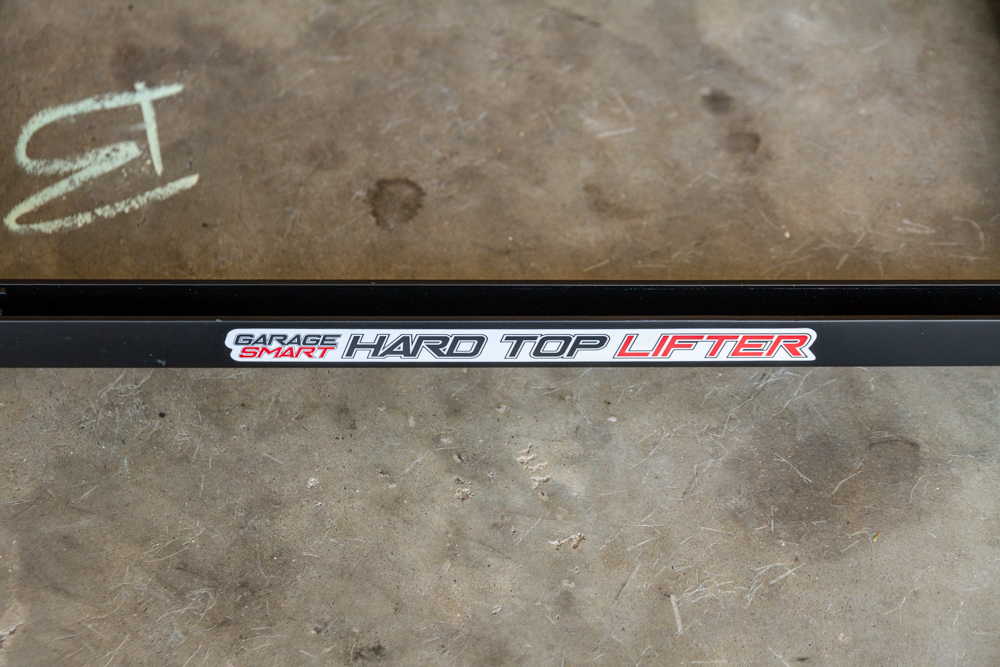
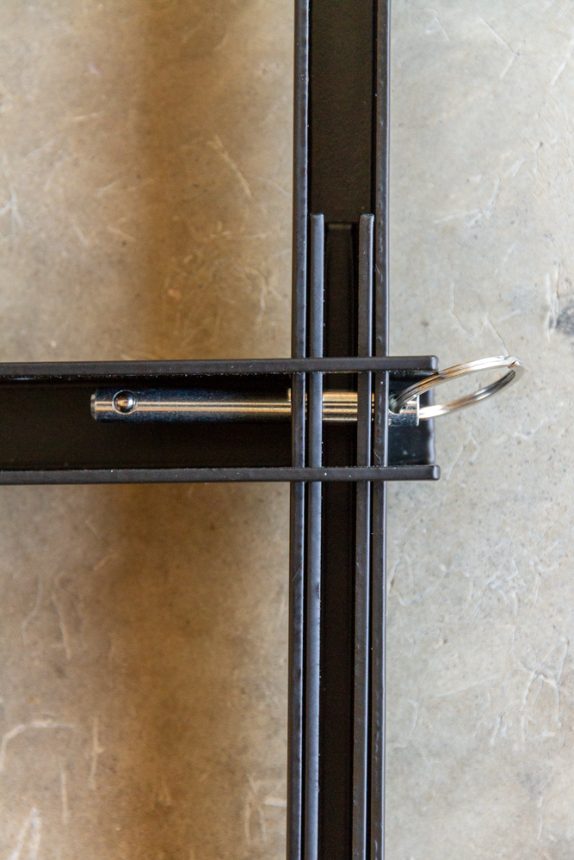
The frame rails are very well built (steel) with a nice black finish, and putting it all together is a tool-less affair. We really liked the quick-connect pins used in the pre-drilled holes, allowing for speedy installation and adjustments (which, again, we had to do once we got the tracks installed and the frame on top of the Jeep).
Once the frame was together, we finally referenced the instructions and backed the Jeep into the garage to figure out where our ceiling tracks—called “Smart Track“—would be mounted.
I won’t go into detail because this isn’t a how-to (that’s what the manual is for and we’ll add GarageSmart’s own how-to video at the end anyway), but I will say that our ceiling joists ran the opposite direction of many, including those assumed within the installation instructions. Nonetheless, we didn’t really have any issues mounting the SmartTracks beyond our own failure to actually read instead of guessing. Oh, and GarageSmart included the required 6mm drill bit (actually, two of them), which was a nice touch.
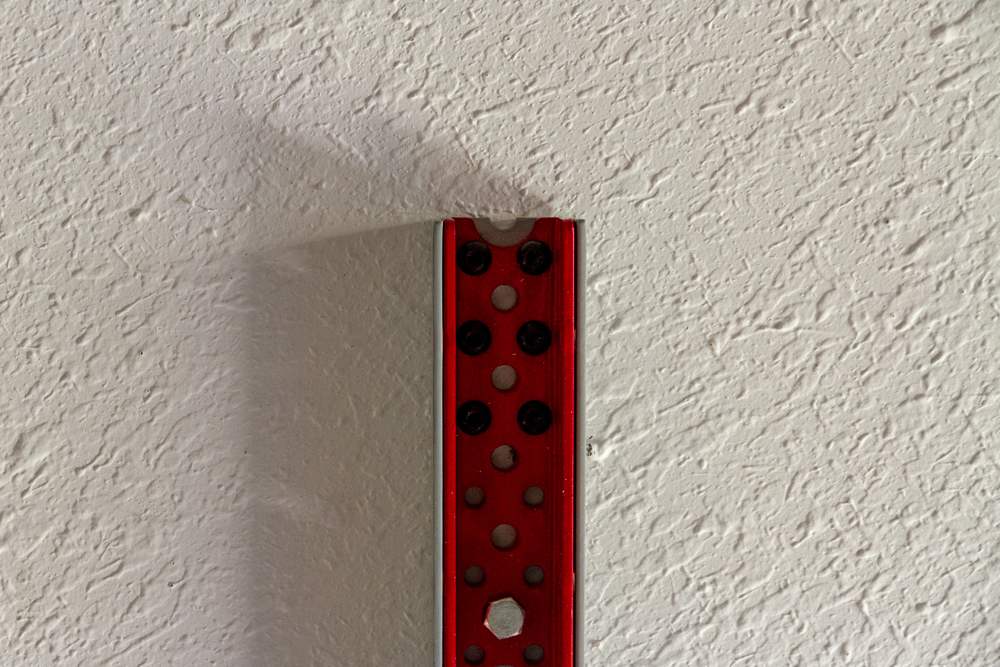
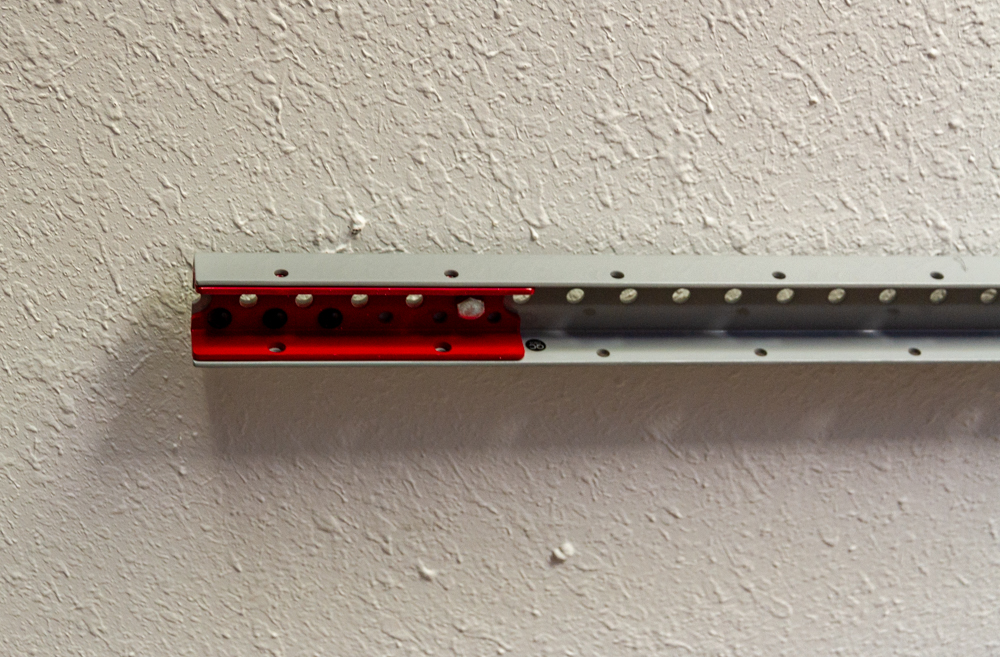
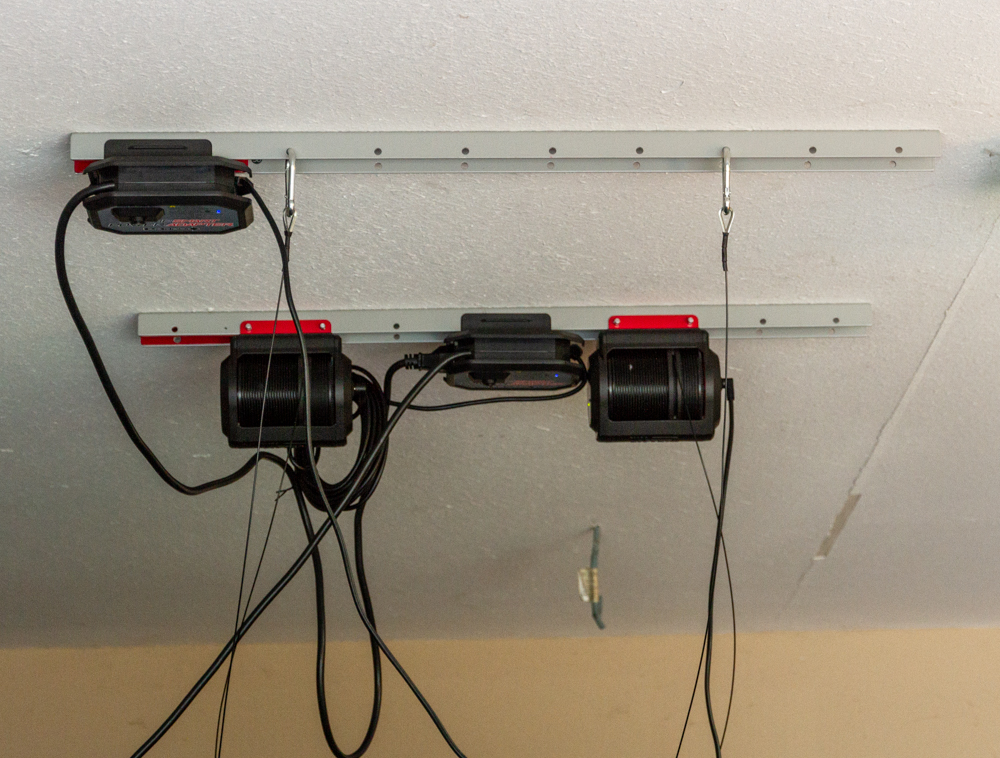
The red extension bracket you see in the photos can be flipped around in case two Smart Tracks need to be joined together for a longer run. Since the Hard Top Lifter kit only requires two tracks, these brackets were not used. Going back to our earlier statement, this is another indication that the Hard Top Lifter is comprised of individual components also used in other GarageSmart products.
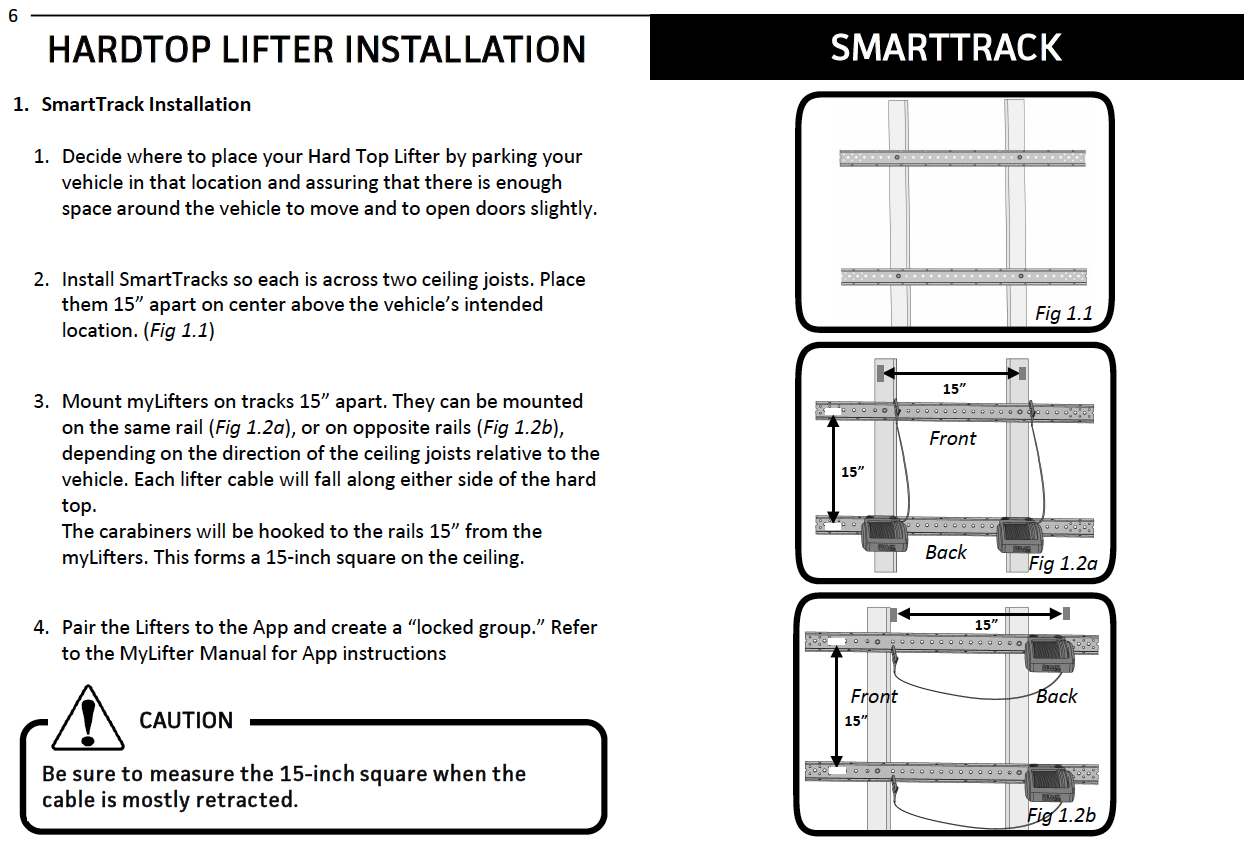
Once the Smart Tracks were mounted, we needed to determine where to mount the two MyLifter hoists and their accompanying power adapters. Again, I won’t go into too much installation detail here but, according to the instructions, as long as you get the “15-inch square” thing figured out, you’re golden. Maybe…
This is where we think the instructions could be a bit clearer. There are only so many models of Jeeps where this system can work. It seems to us that it’d be pretty easy to address specific models, especially the top-selling JK two- and four-door models. In other words, tell us precisely how to configure the adjustable frame, the hoists, etc. There was quite a bit of guessing going on during our install.
The App
Before we could test anything, we had to download the MyLifter iOS app (it’s also available for Android devices) and configure it to work with our two hoists.
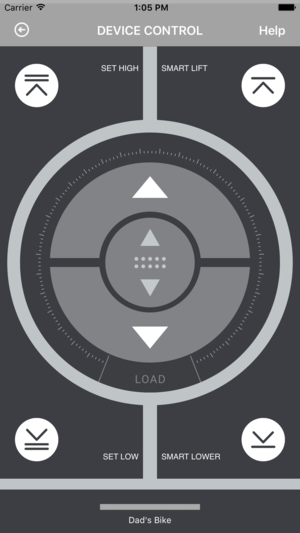
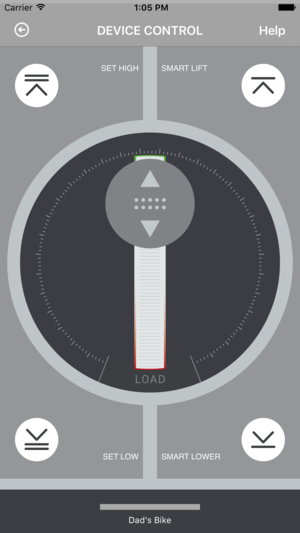
The app is well-designed and straightforward. First, you connect the app to each MyLifter device via the typical Bluetooth pairing process. Then, you name them and group the two MyLifter units together. When grouped (which is required for the Hard Top Lifter), the MyLifter devices are smart enough to keep the hardtop balanced as you lift or lower it. It’s actually quite cool to watch the two hoists work together.
The app also has a min/max feature, which allows you to set the highest and lowest lift/lower points. This is a great feature as it prevents the hardtop from hitting either the ceiling or the ground. Side story: I actually damaged the corners of my own hardtop several years ago by lowering it too far, too fast.
Liftoff!
With the Smart Tracks, the MyLifter hoists, and their respective power adapters installed, we test-lifted just the Hard Top Lifter frame—it twisted a lot. We knew (and read) that weight matters, but it was still twisting way too much. So, we adjusted the frame accordingly and got it to lift nice and even. Again, the quick-connect pins are super-helpful when adjusting the frame width.
To reiterate what the instruction manual screengrab above is showing: you need to pay close attention and make sure the MyLifter units are 15″ apart AND their return leads are hooked 15″ from the same device. You can see in the picture above that our MyLifter hoists are a bit too close together because we were trying to align them with the pulley frames instead (we should’ve just adjusted the frame to be wider). I’m not sure that this caused any operational issues but we did have some…
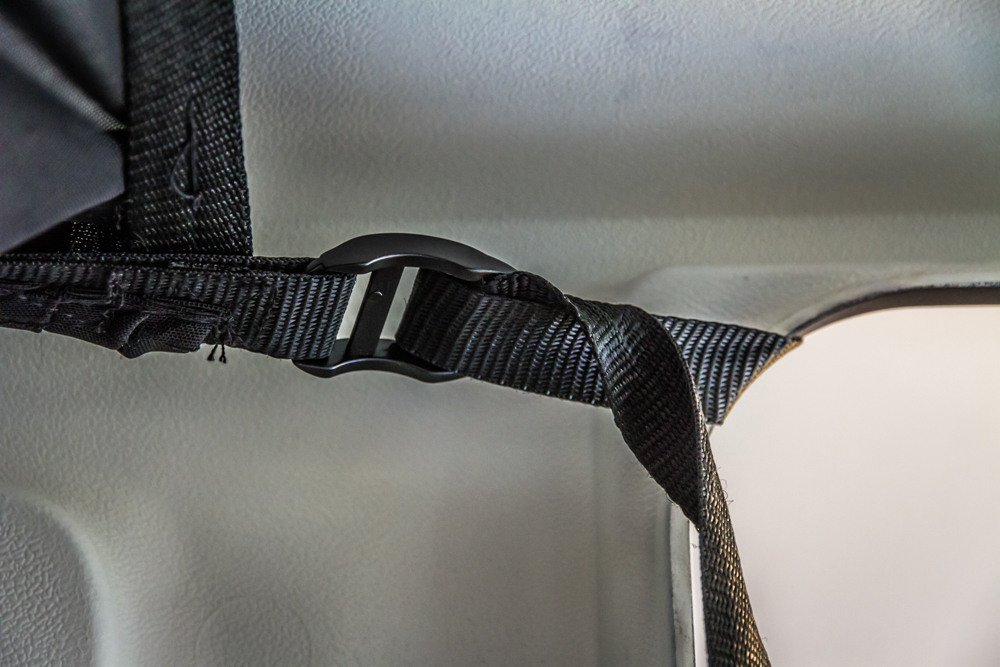
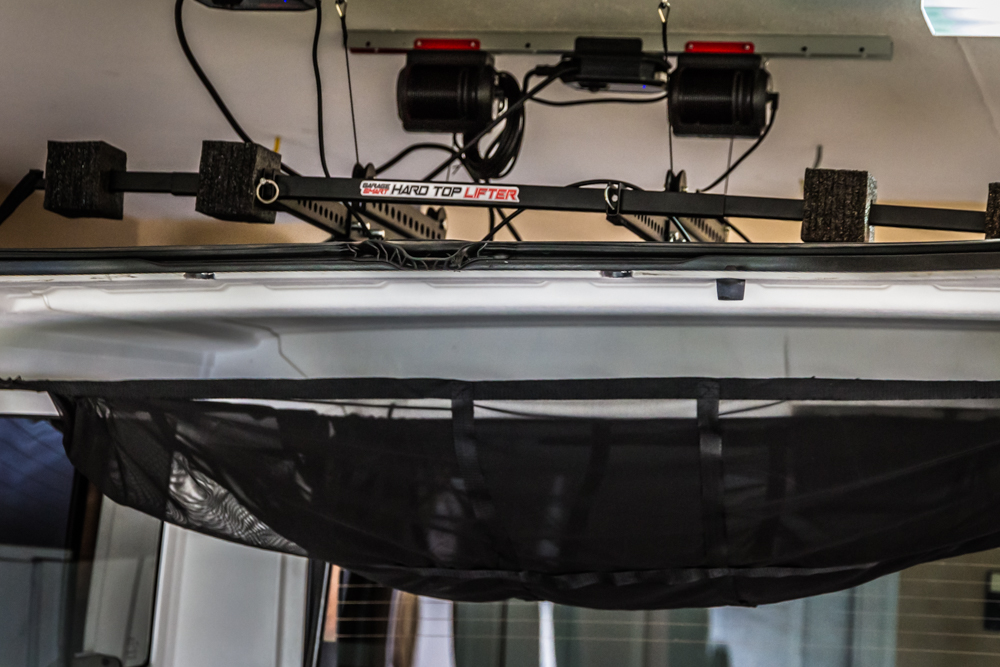
The Hard Top Lifter system uses a cargo net with four adjustable nylon straps—one on each corner to cover the two sides and both rear corners of the hardtop. Before you lift the top, you’ll have to attach this net to the Hard Top Lifter via the integrated hooks on the frame.
The problem: if these straps aren’t SUPER tight, the entire frame will bow or tilt to one side as the hardtop is being lifted, causing those in the area to freak out a little bit—like the frame is going to break and the surprisingly delicate fiberglass Jeep hardtop is going to come crashing down.
In all seriousness, while the cargo net concept is neat because it gives you a place (albeit a very flimsy place) to store your Freedom Panels (the “t-tops” of the OEM Jeep JK hardtop system), I personally think hooks would be 100x better.
The hardtop lift system that I used back in the day (the silver Jeep pictured above) used big rubber-coated J-hooks and I never had an issue at all with stability or damage to the hardtop from the system itself. The nylon straps with this kit are just too hard to get tight and, again, if they are not very tight, there will be a large gap between the frame and the hardtop—and that seemed troubling, at least to me.
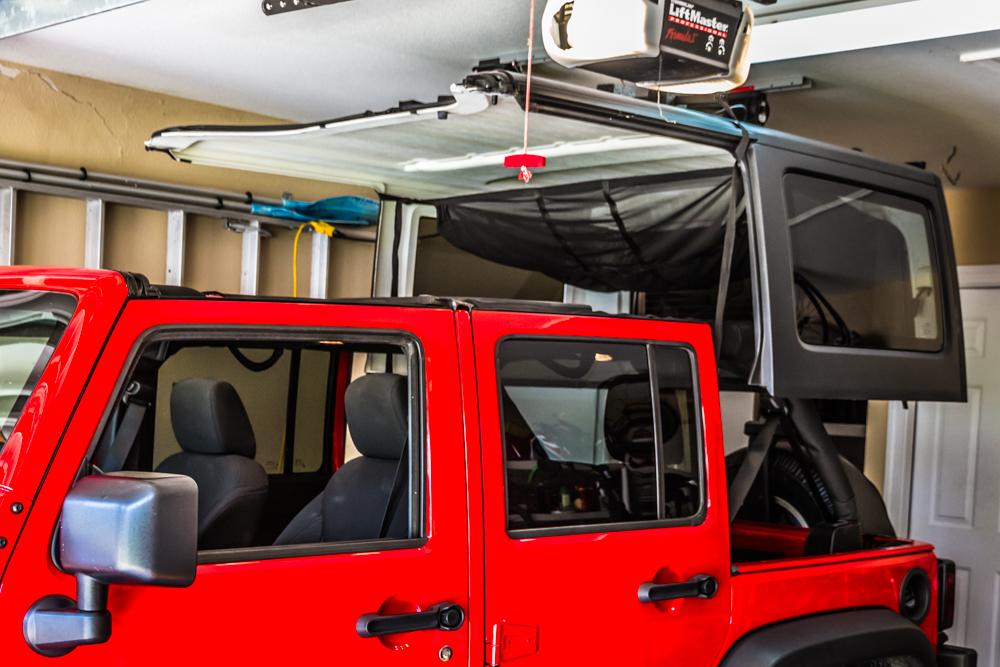
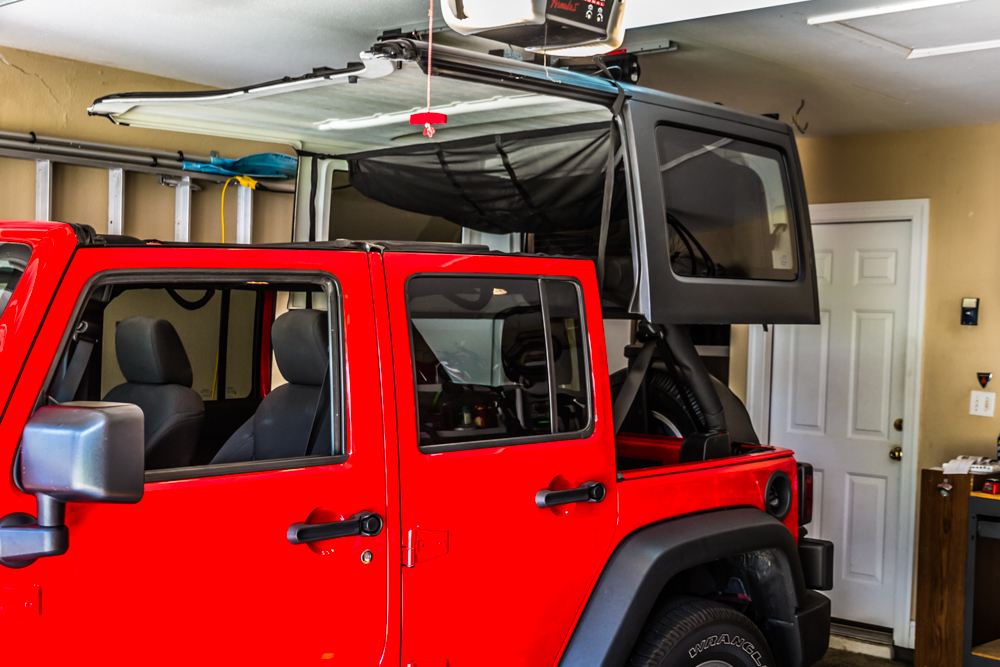
Once you do get the straps super-tight, however, the Hard Top Lifter works just fine, as shown below.
Tidying Up
Because it was 96° and we all had places to be, we had to wrap the installation up after a few hours. Granted, some of this additional install time was our own fault—not reading or perhaps not interpreting the instructions carefully, pausing for quite some time to consider where to best mount the hoists, how to get the straps tighter, etc.
Since we had to leave, there was no time to tidy up all of the long cords or finish the track with the included snap-on plastic track covers (below)—both of which are thoughtful features from GarageSmart.
Still, when we left, the hardtop on our guinea pig red four-door Jeep JK was hanging from the Hard Top Lifter system nicely, and we were confident it wasn’t going anywhere.
Final Thoughts
Despite the straps vs. hooks issue that we had/have with the Hard Top Lifter, we still think it’s a solid system. We really do love the MyLifter Bluetooth hoist for use with this system, any other GarageSmart storage solutions system, or even as a stand-alone tool for some other project where you need to lift something up.
That said, the Hard Top Lifter costs almost twice that of other Jeep hardtop lift systems—some with and some without powered hoists/winches. That cost may seemingly come from the two included MyLifter hoists.
Rating Criteria
Design
Build Quality
Performance
Features
Value
Overall Rating
A cool way to remove and store your Jeep JK 2- or 4-door hardtop up and out of the way by yourself using just your smartphone. A bit overpriced but well built.

