UPDATE: Talelight.tech is no longer active.
Almost a year ago, we wrote about a new digital bumper sticker we saw on Kickstarter, called the Talelight. Back then, we had a few concerns based only on what we were seeing online, but didn’t actually have the product in our hands because it was still being developed.
Recently, we did receive our very own Talelight and, to our pleasant surprise, it’s actually way cooler than we thought. Sure, we’ve still got a few wish list features we’d like to see, but Talelight innovates and renews a messaging platform that hasn’t changed in decades—the bumper sticker.
Developed by a company called Ultimation, the Talelight is a 2” x 8” high-resolution color LCD display sealed tightly in a weatherproof black plastic housing. Technically speaking, the Talelight’s display is a little smaller than a standard bumper sticker but when you actually attach it to your vehicle, you’ll never even notice because it’s just that cool.
We’re not really into unboxing things here at GarageSpot, but our Talelight arrived just fine, for the most part. The product packaging was damaged—two corners were torn—so the contents would’ve actually fallen out had we not been careful. We considered doing an impact test on the device, but not quite that early.
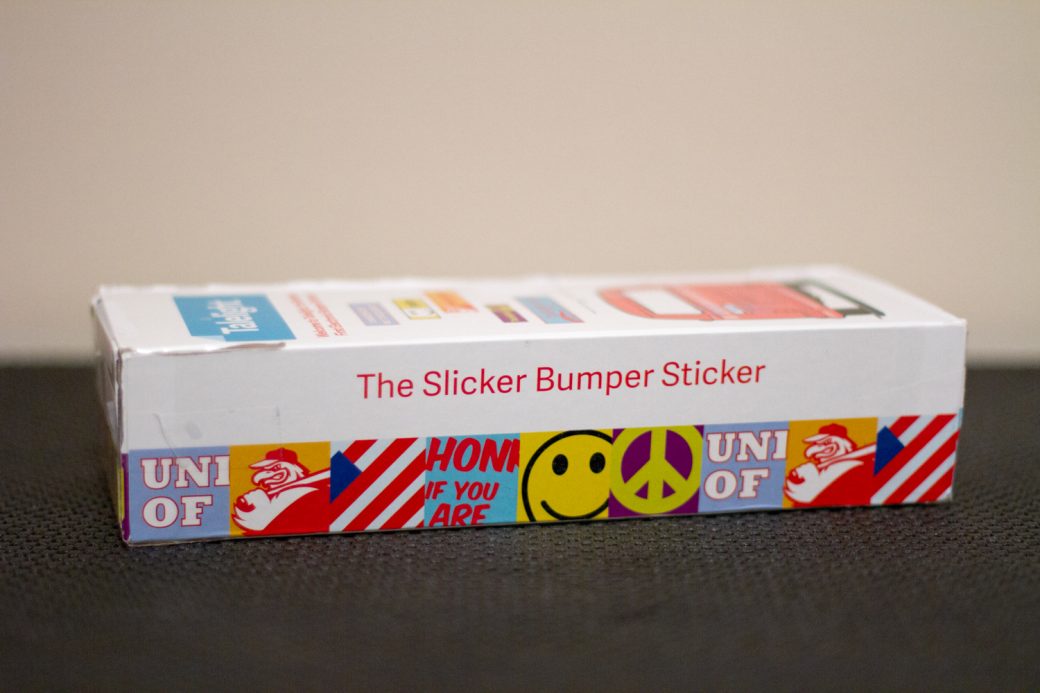
The Talelight’s packaging is actually akin to Apple’s packaging—hard cardboard, a nice insert cradle for the product itself, with cables and instructions neatly tucked inside.
Account Creation
The first step when you get your new Talelight is to create an account on the Talelight.tech website and register your device there, too. This is required because the web portal is where you’ll manage your device and the bumper sticker images you want to display on it.
Buying Stickers
Once you’ve created an account, you can either buy digital bumper sticker images in the Talelight Sticker Store for about $1.50 each (although some may be as high as $5) or upload your own that you can either sell through the store for a small cut or use privately on your own Talelight device. We chose the latter for our review, which we’ll cover in a sec.
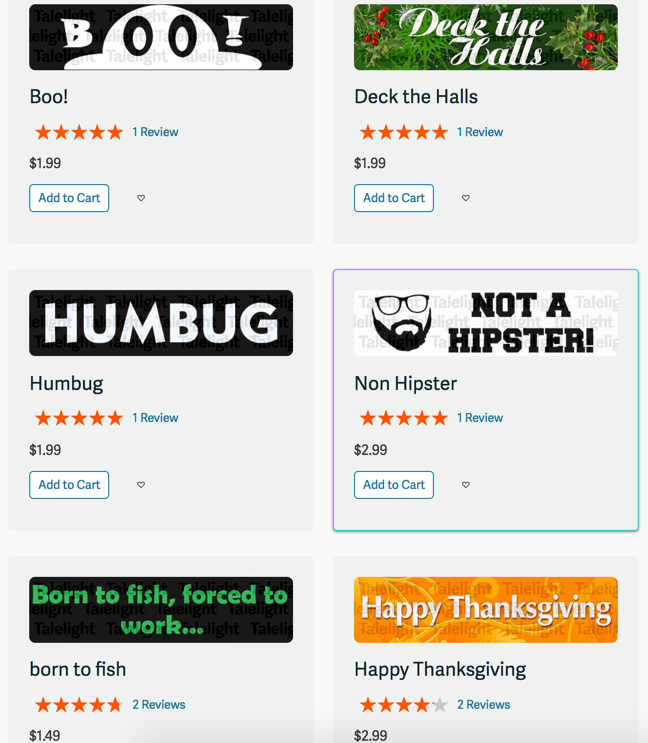
The stickers in the store are OK—some are solid, while others are cheesy and poorly designed using clipart and outdated fonts. But, most real-life bumper stickers are pretty awful, too, so here’s your chance to shine using your own mad design skillz.
Creating (and Selling) Your Own Stickers
Creating your own digital bumper stickers is simple and very rewarding once you see it on the back of your vehicle. Obviously, the better your design skills, the cooler your sticker will be, but stickers with solid backgrounds and simple text can be equally as effective, too. Just be sure to choose colors that work well together so the text stands out.

We created our sticker in Photoshop based on an off-road group some of us here support called Four Wheel to Heal. The size of the image needs to be exactly 1280 x 320 pixels and no larger than 100KB, which you can accomplish by degrading the image quality but not so much that it looks bad. The final file format must be a JPG or JPEG. Talelight does offer templates for a few popular image editing applications, too.
Sticker Approval Process
If you buy stickers from the Talelight Sticker Store, they’ve already been approved. If you create your own—for sale or private use—they will need to be approved by the Talelight team, which usually takes a few hours. Getting images approved during the weekend was slower for us—about 12 hours.
We questioned the reasoning behind private images (e.g., those not being sold on the Talelight store) requiring approval, and it was a long copyright and liability discussion. In today’s world of sue-before-civility, we get it, but don’t necessarily agree. Either way, it’s certainly not a deal-killer.
Managing Stickers & Rotation Schedules
After you purchase or create images, you’ll use the Talelight website interface to manage their display on your Talelight device. You can choose to display just one image all the time, or you can schedule several images to rotate every X minutes, with five minutes being the minimum. The device can hold up to 25 stickers. You can even schedule start/end dates, which is pretty cool for holidays, sporting events, and other temporary messages you want to automatically remove from the rotation on a set day and time.

We asked Talelight if it was possible to lower the rotation schedule so that when you’re stopped at a stoplight the person behind you sees more than one image, but they cited flashing image laws, that many states have, as the reasoning behind the five-minute minimum. Makes sense.
Syncing Images with the Device
One somewhat tedious aspect of the Talelight is how it has to be synced. After you use the website to set up your images and their rotation schedules, you have to use an app—IOS or Android—to actually sync those images and get them into the device.
And it is painfully slow sometimes.
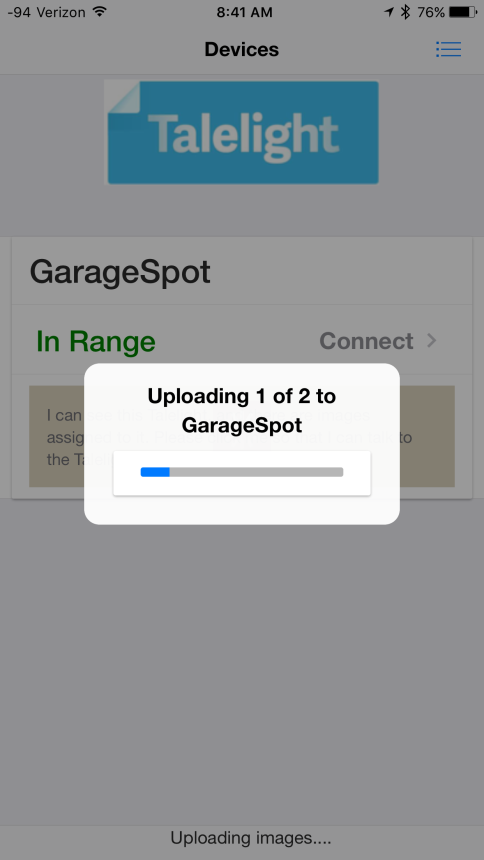
The app uses Bluetooth to connect to the device, so your phone needs to be within about 50′ of it to connect. But that’s not what’s slowing it down—it’s something on the Talelight server side. One of our images took 14 minutes to sync; another 9. Perhaps the server was having a bad day, but it happened on three different occasions. Growing pains, we hope.
The app also has very little functionality outside of syncing with the web portal. You can override the web portal schedule by choosing to instantly display an image for between 15 minutes and 1 day, but you can’t edit images, permanent schedules, or anything else using the app.
We get that it’s difficult to allow the creation and uploading of custom images on a phone, but at the very least, we should be able to buy images, edit schedules, and manage our library of digital bumper stickers from within the app. Again, it’s not a deal-killer, but it does make using the device just a bit tedious, as you are required to use a computer and an app to get a seemingly simple image onto the device.
Choosing a Mounting Location
The Talelight comes with four strips of 3M VHB double-sided tape that is approved for vehicle use and won’t damage a vehicle’s finish when removed properly. The device can basically be mounted anywhere from the bumper to the trunk lid to the rear window, so long as the cable can be routed to a USB port (more on that in a sec).
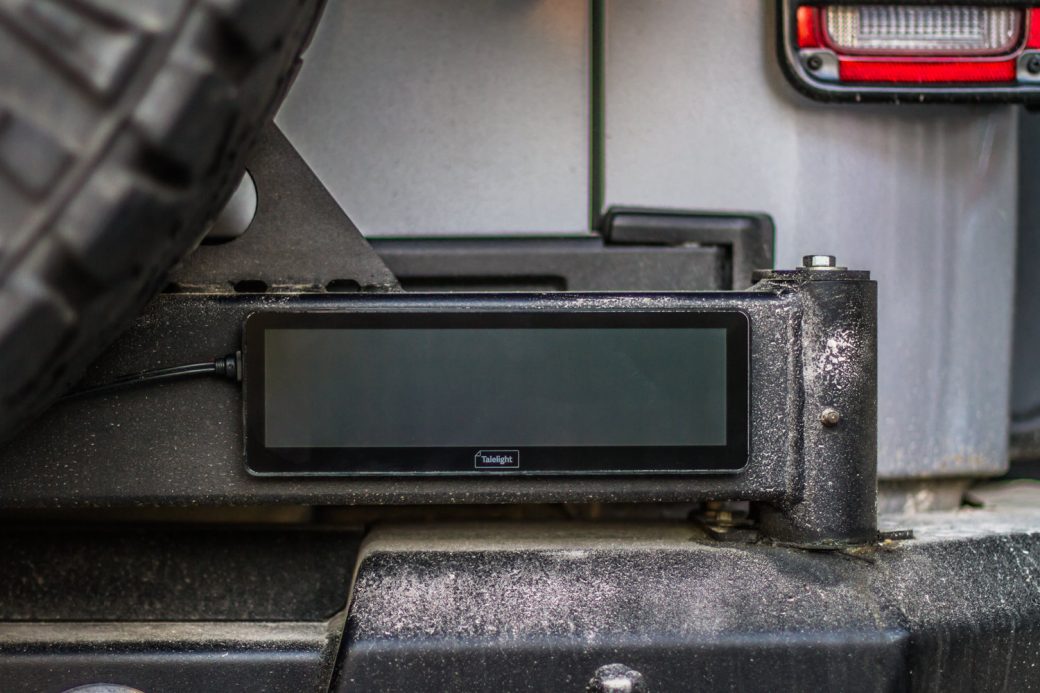
We were actually challenged here. When we started reviewing the Talelight, we quickly realized that the two vehicles we had access to at the time weren’t going to work very well. One car, a newer Acura RDX, has a rounded rear profile, so very few areas were flat enough to mount the Talelight. The other vehicle, the [very dirty] GarageSpot Jeep, just had very little space for the Talelight due to the big spare tire, swingout tire carrier, gas can, etc. We did, however, find a decent spot on the rear tire carrier, as you can see in all of our photos.
One concern we do have is that an LCD screen on the back of a vehicle could be tempting to the many evildoers out there. Ultimation did design the Talelight so that it can only be synced using the mobile app, and that app must be registered using a physical hardware ID to the Talelight device itself. So, if a Talelight gets stolen, it’s basically useless. Unfortunately, thieves won’t know all of this until it’s too late and you’re out a device.????
For about $20, there is a two-piece mounting bracket kit available for the Talelight. Essentially, you put the brackets on the Talelight, place the double-sided tape on the back of the brackets, then press the device onto your vehicle. Now, you can unplug and remove the Talelight, leaving just the brackets on the car.

Powering-Up
Regardless of where the Talelight is mounted, it must be plugged into a USB port to function. Newer vehicles typically have built-in USB ports, but an old-school cigarette lighter USB adaptor (not included) will work just fine. The included cable is long (sorry, we didn’t measure it), and should span the length of most vehicles, even considering clean routing of the cable throughout the vehicle.
If your power outlet doesn’t turn off with your vehicle (which is rare these days), you can use the Talelight app to enable motion sensing. In this mode, the Talelight goes into low power mode when no motion is detected. When motion is detected, the LCD turns back on.
We do wish the micro-USB side of the cable that plugs into the Talelight was more secure. It’s *probably* not going to go anywhere, but we didn’t get that satisfying “click” we wanted when we plugged it into the device. It does appear to be weather-sealed, so that could be why. If mounted properly, it should be fine—we just wanted it to be a bit more secure.
The LCD screen on the Talelight is solid. It feels quite sturdy and reproduces colors very well. We created a full-spectrum RGB test bar and, when compared to a color-corrected computer monitor, the colors were almost dead-on accurate. We did, however, have to adjust the brightness level of the device to get there, which is a somewhat hidden feature within the mobile app’s menu tree (which, by the way, does not hold its setting when the device is powered off and then on again).

Viewing the Talelight from about 15′ back—as if we were stopped at a stoplight—the images were super-clear with the brightness set to 100%. When we reduced brightness to 50% and then to its default setting, the image was still clear, but much less so. At night, 100% brightness is very bright. In fact, it could be distracting to other drivers. It would be great if the Talelight had a built-in ambient light sensor that could auto-adjust brightness levels.
UPDATE: As it turns out, there IS an ambient light sensor on the unit! Our big ‘ol spare tire was blocking it, so the display wasn’t adjusting.
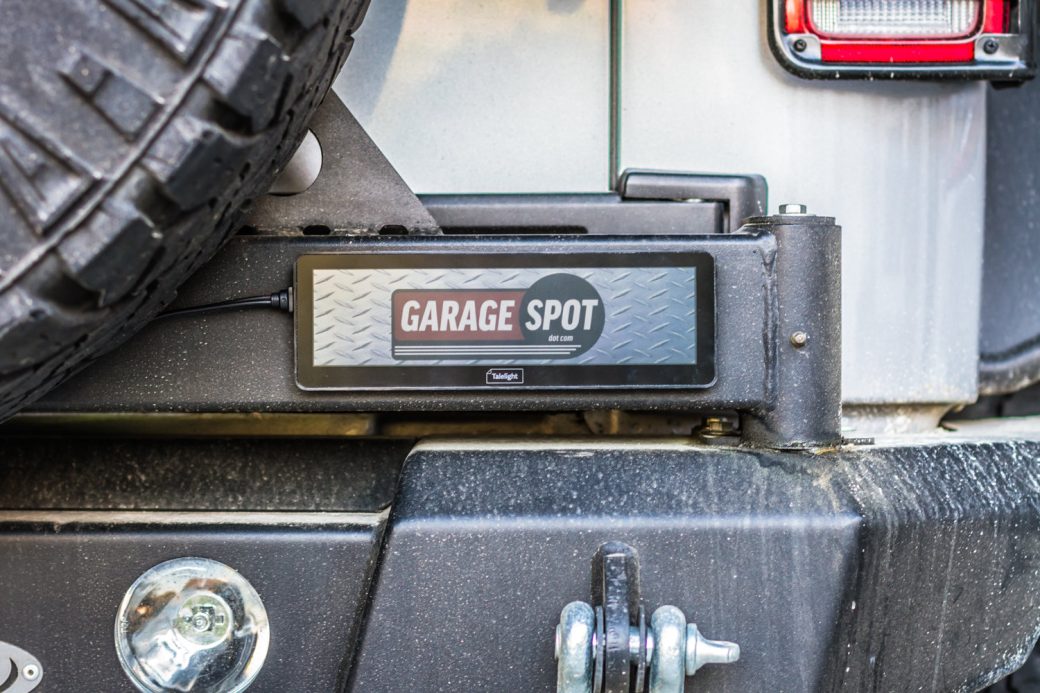
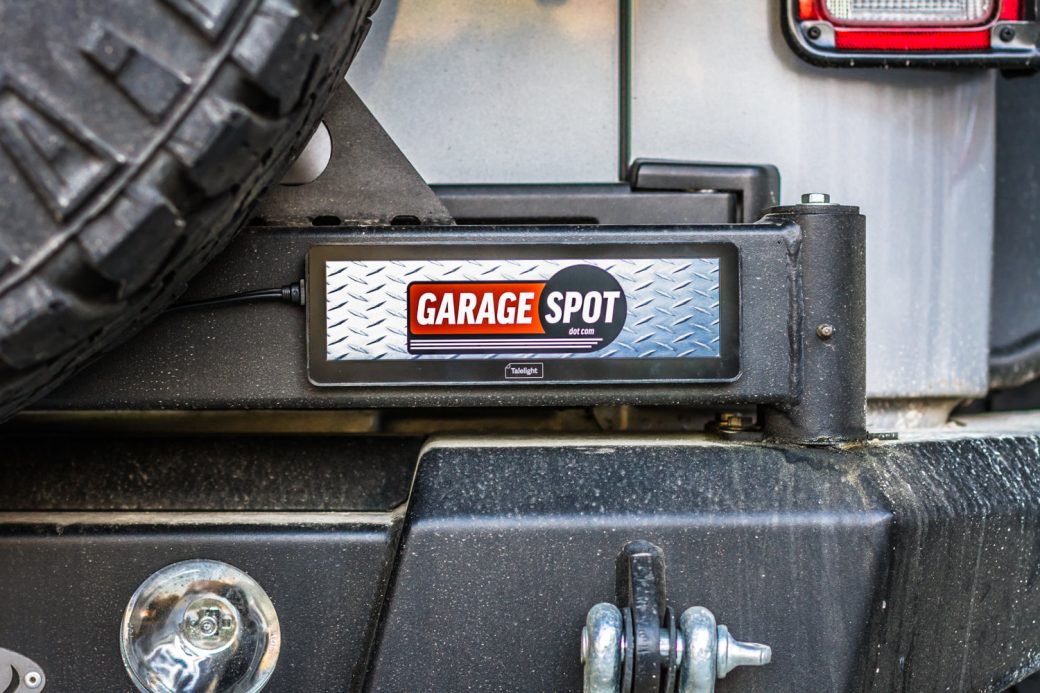
As you can see, the default brightness is almost like a matte finish—it’s a bit dull. But at 100% brightness, the Talelight really shines!
While we haven’t had our Talelight for very long, we did stick it to the Jeep and ran it through some stuff. It got a little wet-n-dirty but never failed that we know of. And since the Talelight is encased in a hard shell, it was simple to clean with a damp rag and nothing more.
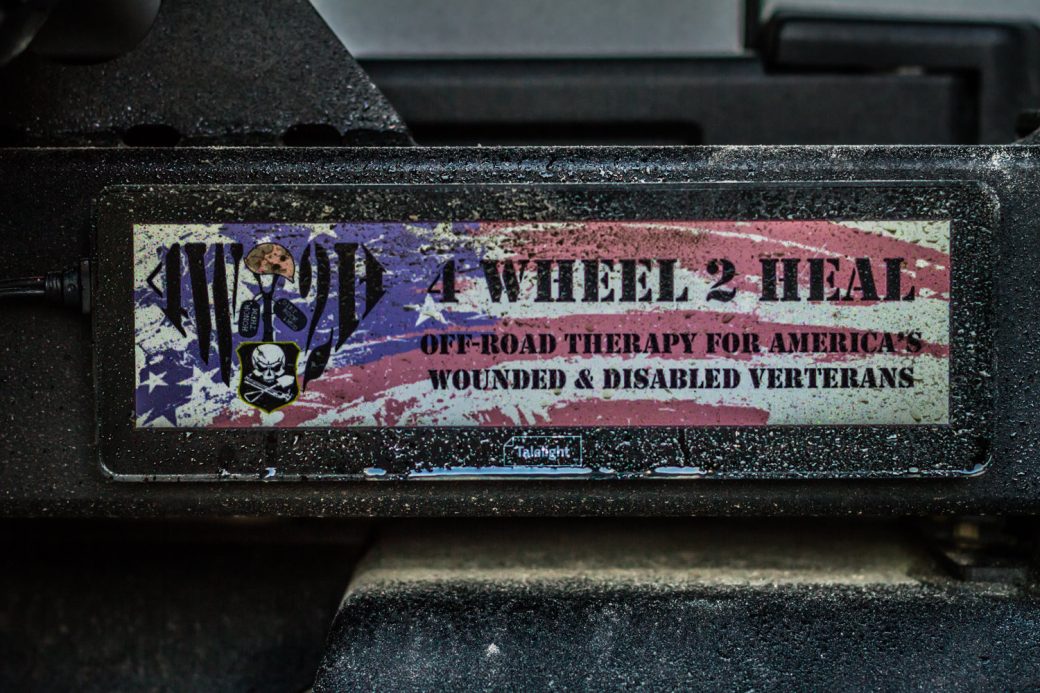
Remember, weather resistant is different than waterproof. The Talelight handled rain, and even an afternoon downpour, just fine. We’re not sure we’d put it through an automatic car wash with brushes, though. This is where the additional mounting brackets would come in handy, allowing the device to be stored inside the vehicle when things get rough out there.
All of our pickiness aside, the Talelight is a very cool gadget and we’re happy we got to test one out. At $130, it’s not cheap, though. But to be able to show your team pride, political opinions, or love for your dog/cat/honor-roll student/etc. on-the-fly is just downright cool.

- Introducing the World's First Electronic Bumper Sticker!
- Talelight: The Slicker Bumper Sticker.
Rating Criteria
Concept - 100%
Design - 90%
Build Quality - 90%
Performance - 90%
Features - 90%
Value - 75%
89%
Overall Rating
We love the Talelight because it innovates and renews a messaging platform that hasn't changed in decades—the bumper sticker.